How to Apply an Authentication Context to a SharePoint Site
 Samuel Eng
An authentication context lets you apply Conditional Access to a single SharePoint site instead of all of SharePoint. For example, you can require identity verification, phishing-resistant MFA or a compliant device only where sensitive content lives. This guide uses a Purview sensitivity label to connect the context to a site: create the context in Entra ID, link it to a label scoped to groups and sites, publish the label, and apply it in the SharePoint admin center.
1. Create an authentication context
In the Microsoft Entra admin center, go to Entra ID → Conditional Access → Authentication context. Select New authentication context, enter a name and description, select Publish to apps, and save.
An enabled Conditional Access policy must target this authentication context for its controls to apply. Policy configuration is outside the scope of this guide. For an example policy, see How to Create a Conditional Access Policy for Identity Verification.
2. Configure a sensitivity label
- Open the Microsoft Purview portal → Solutions → Information Protection → Sensitivity labels. Select Create a label (or Create → Label).
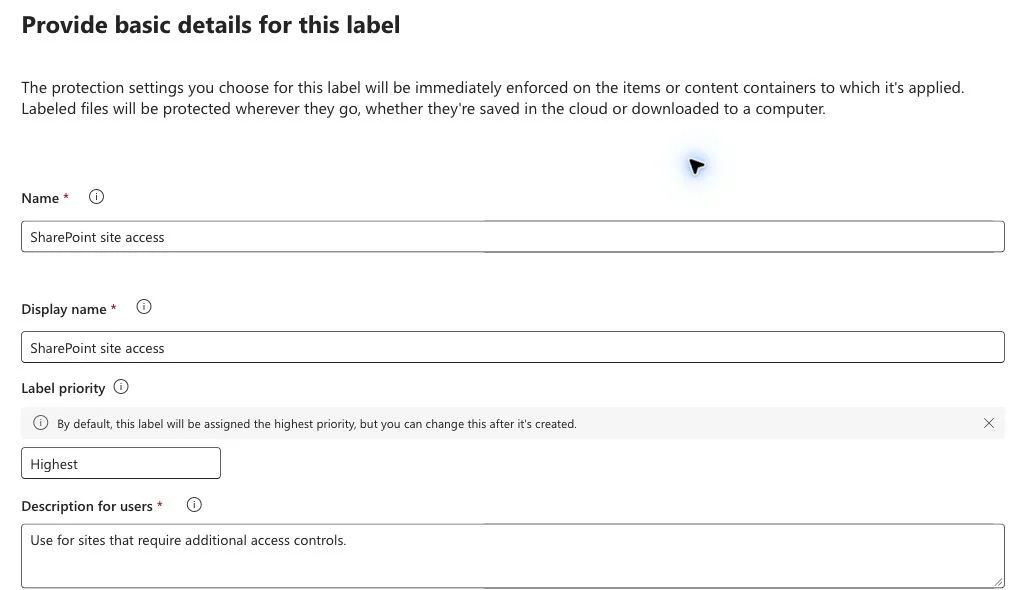
- Label details: Enter a name, display name, and descriptions for the new label. Select Next.
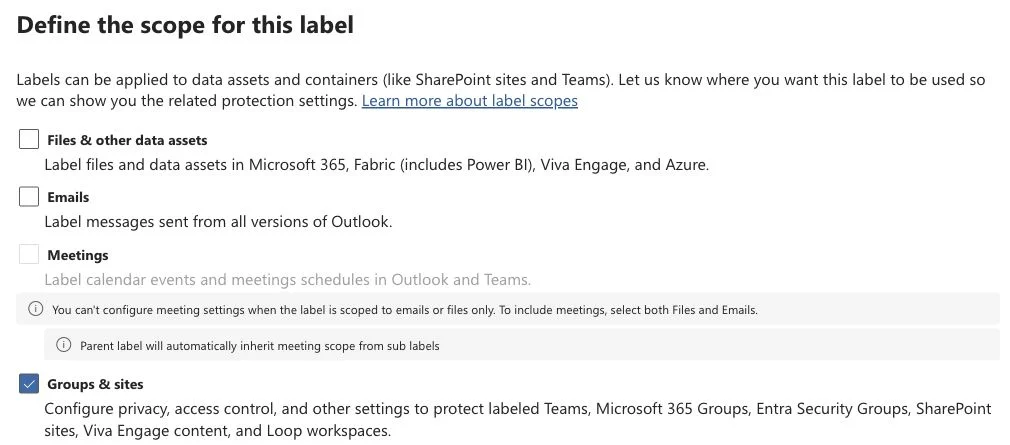
- Scope: Select Groups & sites only. Clear the other scopes, including files and emails, and select Next.
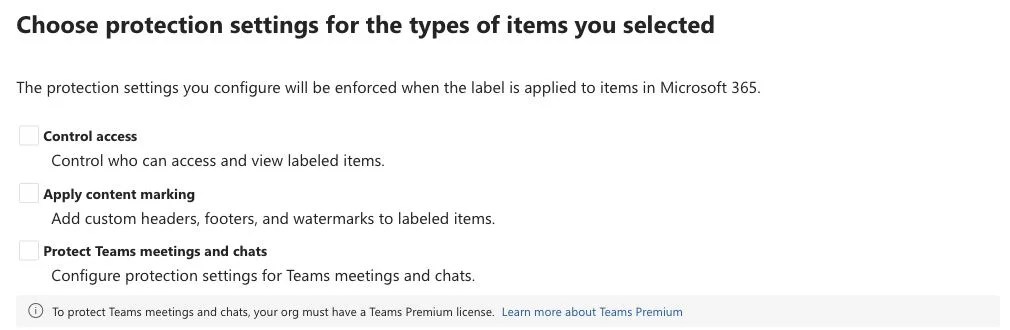
- Items — Choose protection settings for the types of items you selected: If this page appears, leave its protection options unchecked and select Next. Item-level protection isn't needed for this setup.
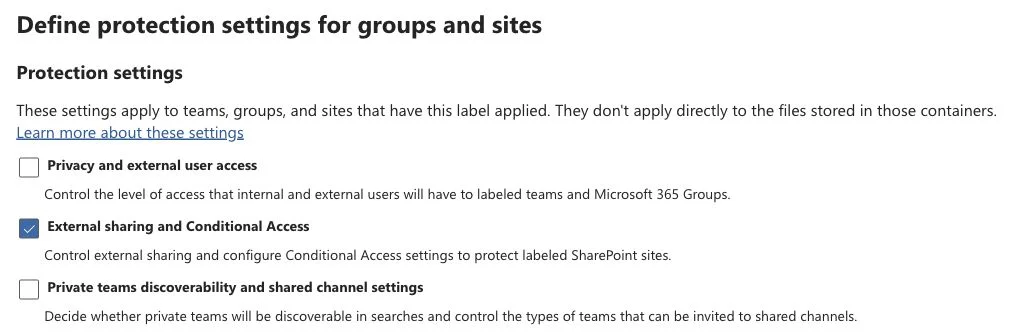
- Groups & sites — Define protection settings for groups and sites: Select External sharing and Conditional Access. Leave Privacy and external user access and Private teams discoverability and shared channel settings unchecked, then select Next.
- Define external sharing and conditional access settings: Leave Control external sharing from labeled SharePoint sites unchecked. Select Use Microsoft Entra Conditional Access to protect labeled SharePoint sites → Choose an existing authentication context, select your context, and select Next.
- Finish: Continue to the review page and create the label.
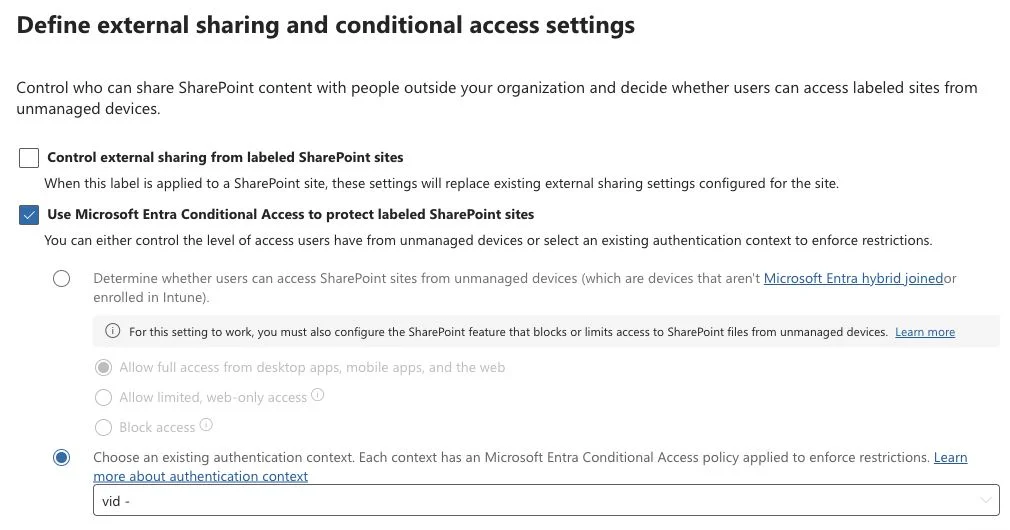
This label applies to sites and groups, not to individual files or emails.
3. Publish the label
- Go to Information Protection → Publishing policies and select Publish label to create a label policy.
- Select Choose sensitivity labels to publish, select the label you just created, and select Add. Continue through the wizard.
- When choosing the users and groups for the policy, limit the audience to the administrator account you will use in the SharePoint admin center. Remove the default all-users selection if present, and add only that account.
- Leave optional policy settings unconfigured for this setup. Enter a policy name, review the settings, and submit the policy. Completing the wizard publishes it automatically.
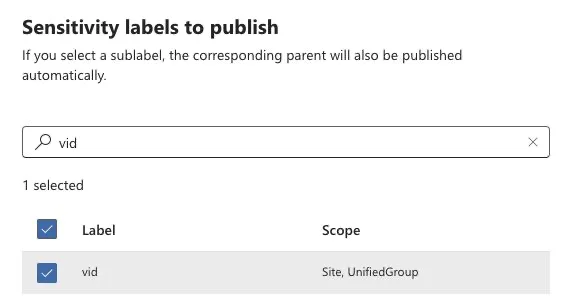
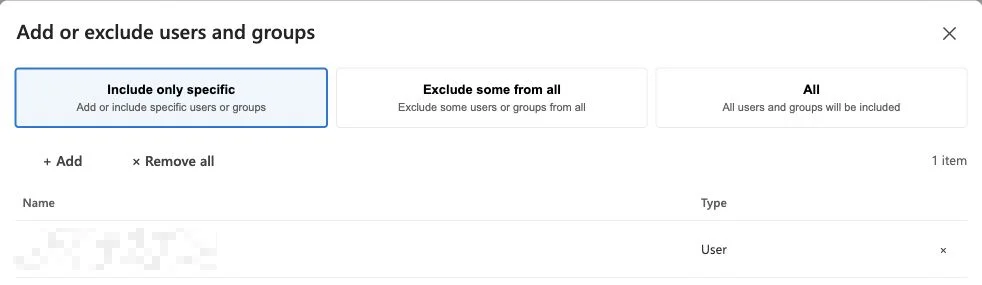
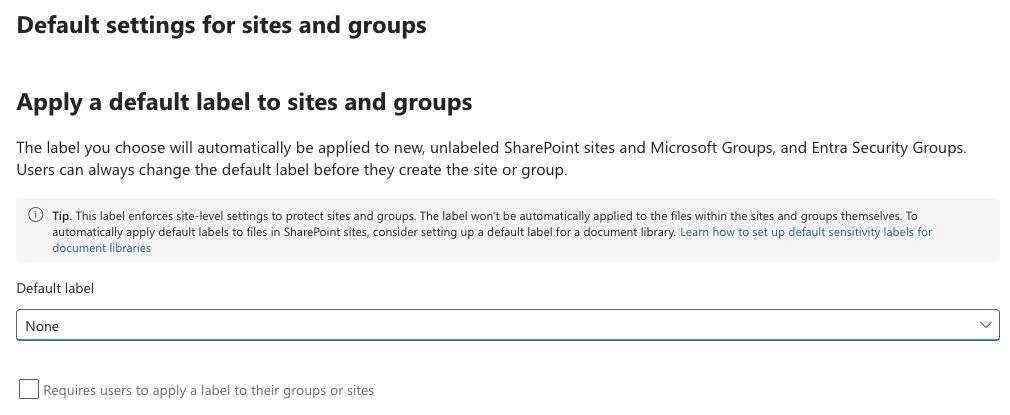
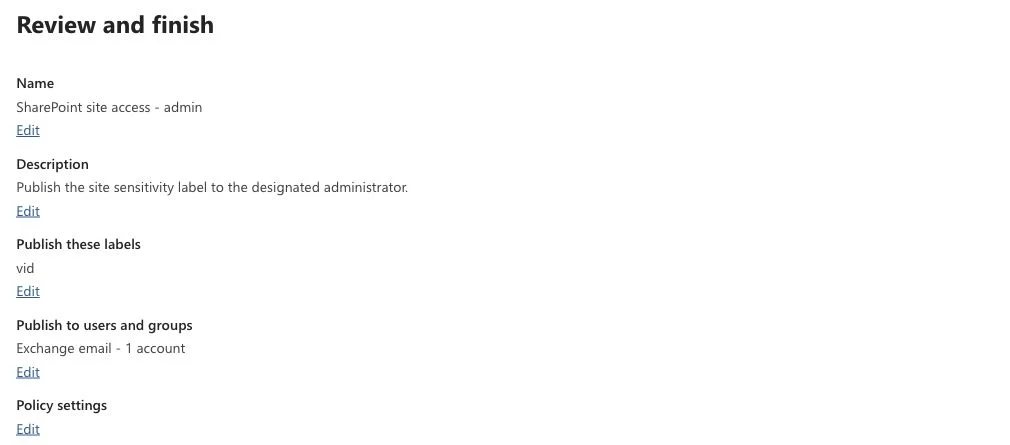
Allow up to 24 hours for the label and policy to propagate before troubleshooting availability. For this walkthrough, the publishing audience is limited to the admin account to keep the setup simple.
4. Apply the label to the site
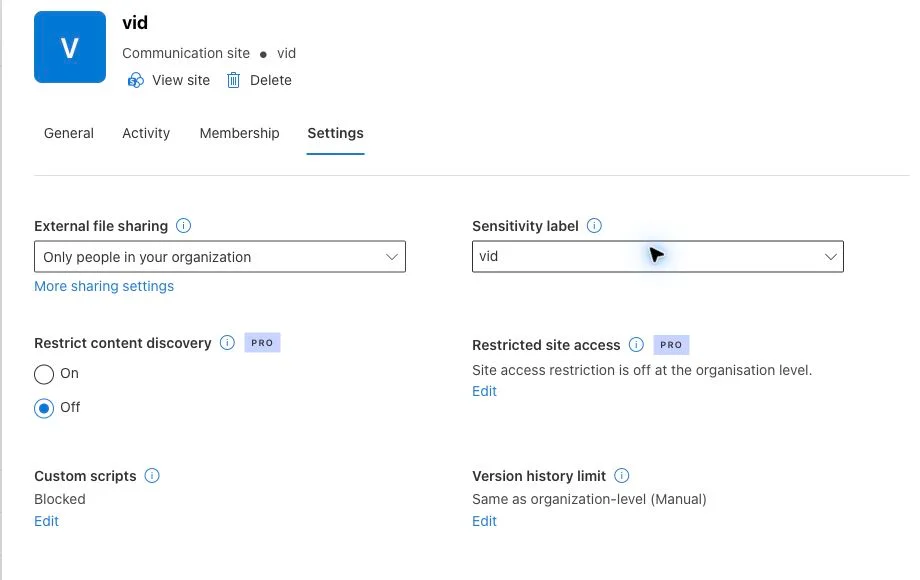
In the SharePoint admin center, go to Sites → Active sites. Select the site name, then open Settings. Under Sensitivity label, choose the label and select Save.
Next steps
The site is now linked to the authentication context, but nothing is enforced until a Conditional Access policy targets it. Next, create an identity verification profile, then the Conditional Access policy.
References
- Microsoft Learn: Conditional Access policies and SharePoint
- Microsoft Learn: Manage site sensitivity labels
In this series
- How to Require Identity Verification on a SharePoint Site: overview
- How to Apply an Authentication Context to a SharePoint Site (this post)
- How to Create an Identity Verification Profile
- How to Create a Conditional Access Policy for Identity Verification
- Get a Verified ID from an Identity Verification Provider
- Present a Verified ID When Required