Get a Verified ID from an Identity Verification Provider
 Samuel Eng
A user who has to verify their identity with Microsoft Entra Verified ID needs a Verified ID in Microsoft Authenticator. If they don't have one yet, they get it from the identity verification provider set in their identity verification profile.
Several flows can send the user to the provider:
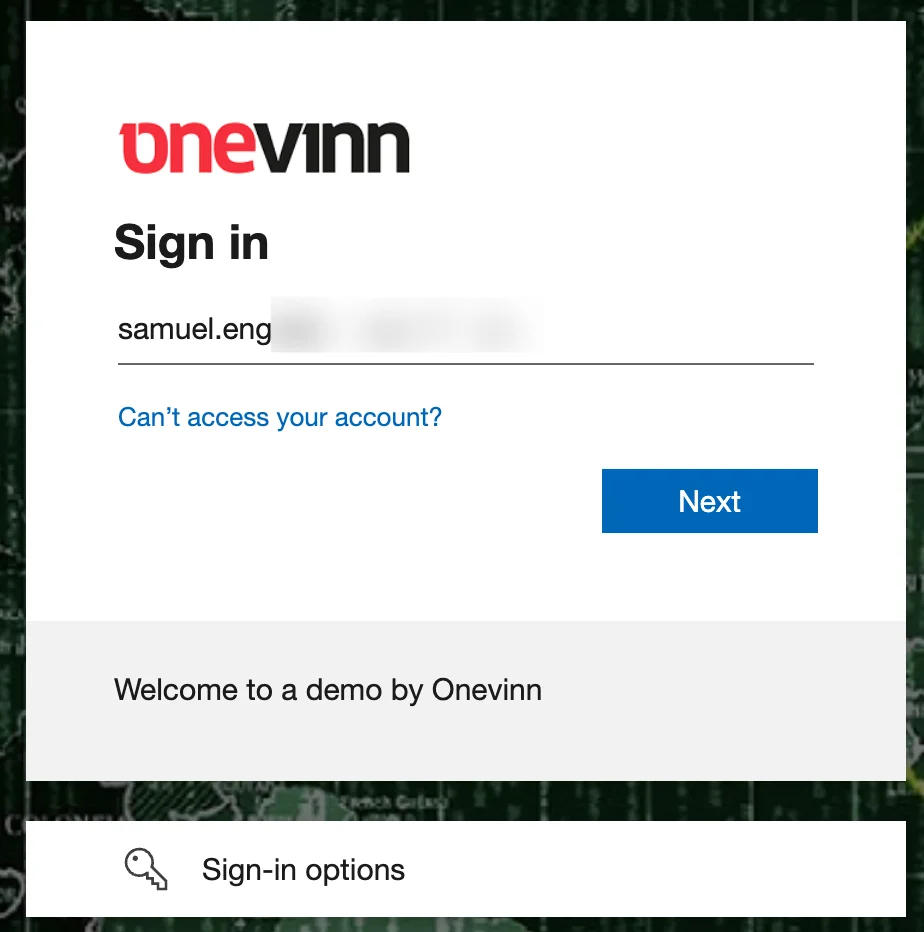
- Conditional Access: a policy requires identity verification, and the user selects Get a Verified ID at sign-in.
- Account recovery: the user has lost their sign-in methods and selects Recover your account. See account recovery.
- Onboarding: a new employee follows a verification link sent to their personal email before their first day.
The provider part is the same in each flow. This article starts from Conditional Access, so only steps 1 and 2 are specific to it.
IMPORTANT
The provider checks the identity document once, when it issues the Verified ID. When verification is required later, the user only presents the Verified ID and completes Face Check. The Verified ID is stored in Authenticator on that phone. A new phone, a deleted Verified ID, or one that has expired or been revoked means going through the provider again, which is usually another billed verification.
Prerequisites
- An identity verification profile with an identity verification provider, and, for this example, a Conditional Access policy that requires identity verification.
- A test user in scope of both, with no Verified ID from the provider yet.
- Microsoft Authenticator on the user's phone. To store the Verified ID, the app has to be installed, but the user doesn't have to be signed in to it.
- A government-issued identity document that the provider accepts.
1. Sign in and get prompted
The user signs in to the protected resource, such as the SharePoint site.
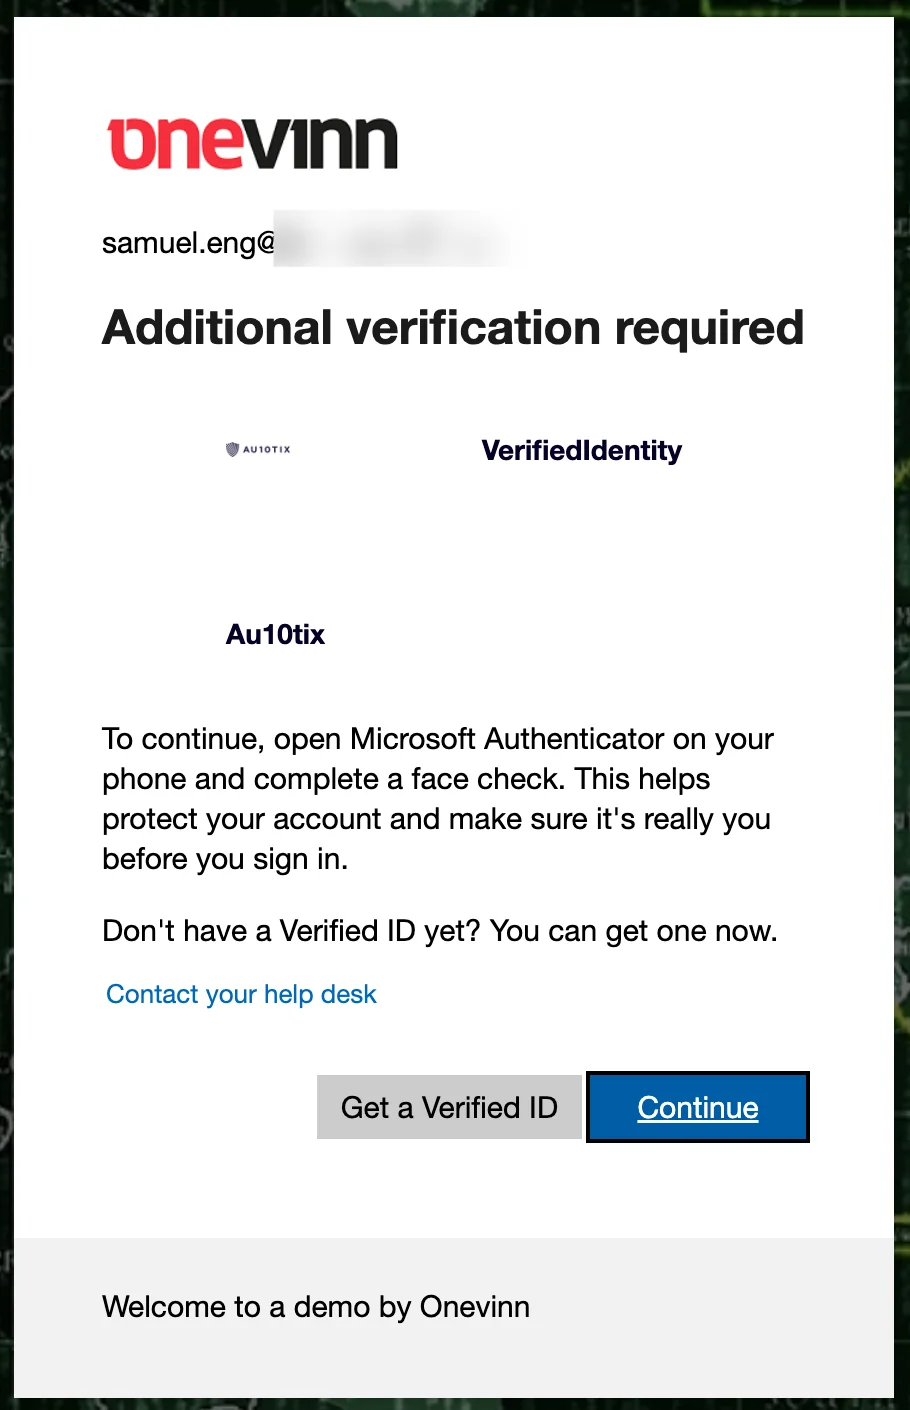
The prompt shows which Verified ID to present. Continue is for users who already have it, Get a Verified ID for users who don't.
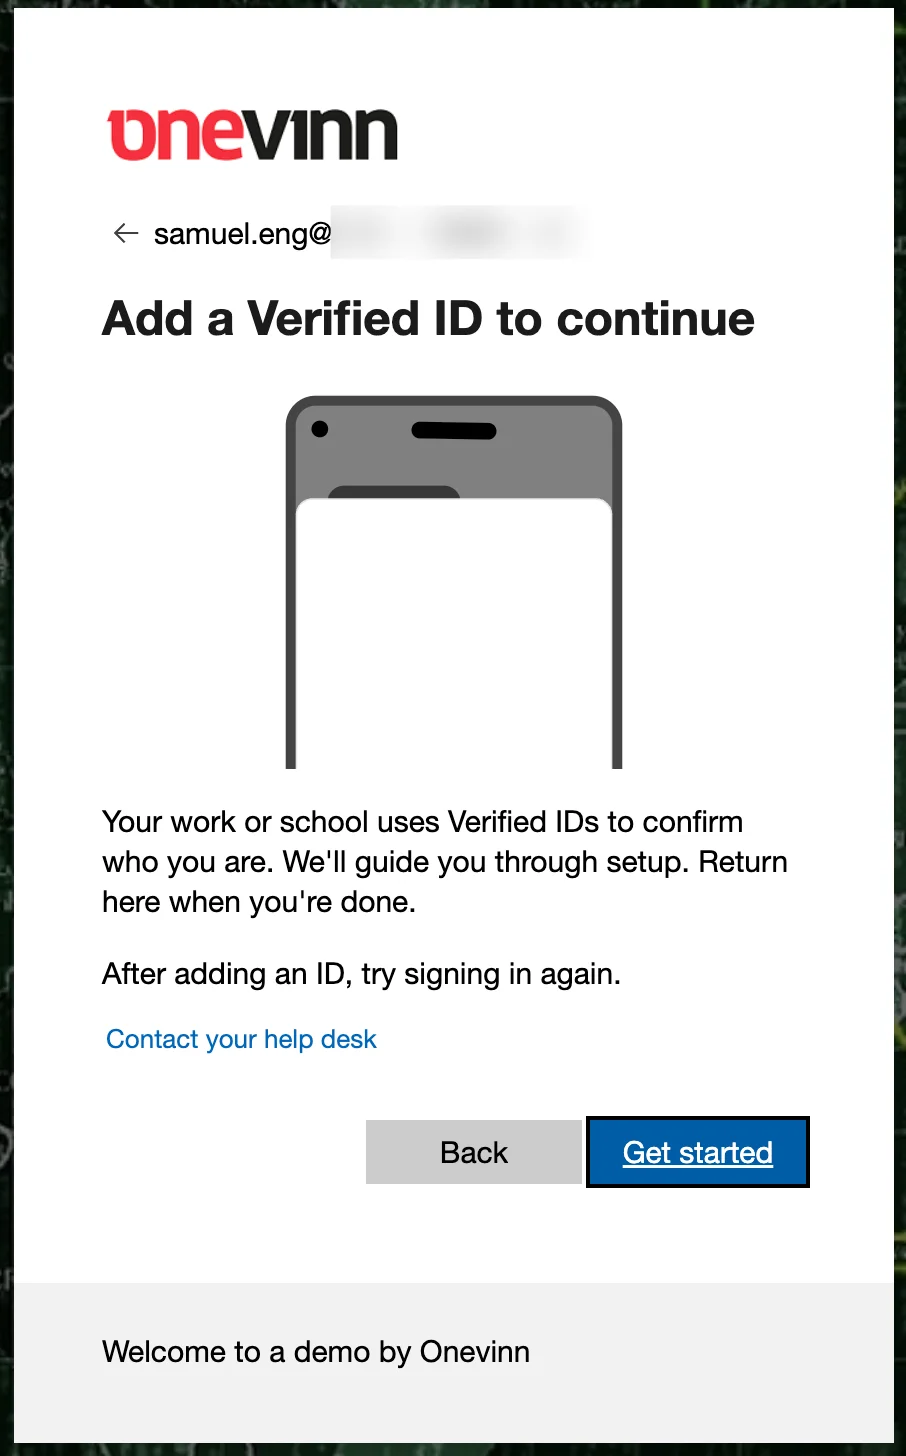
2. Get a Verified ID
Get started opens the provider.
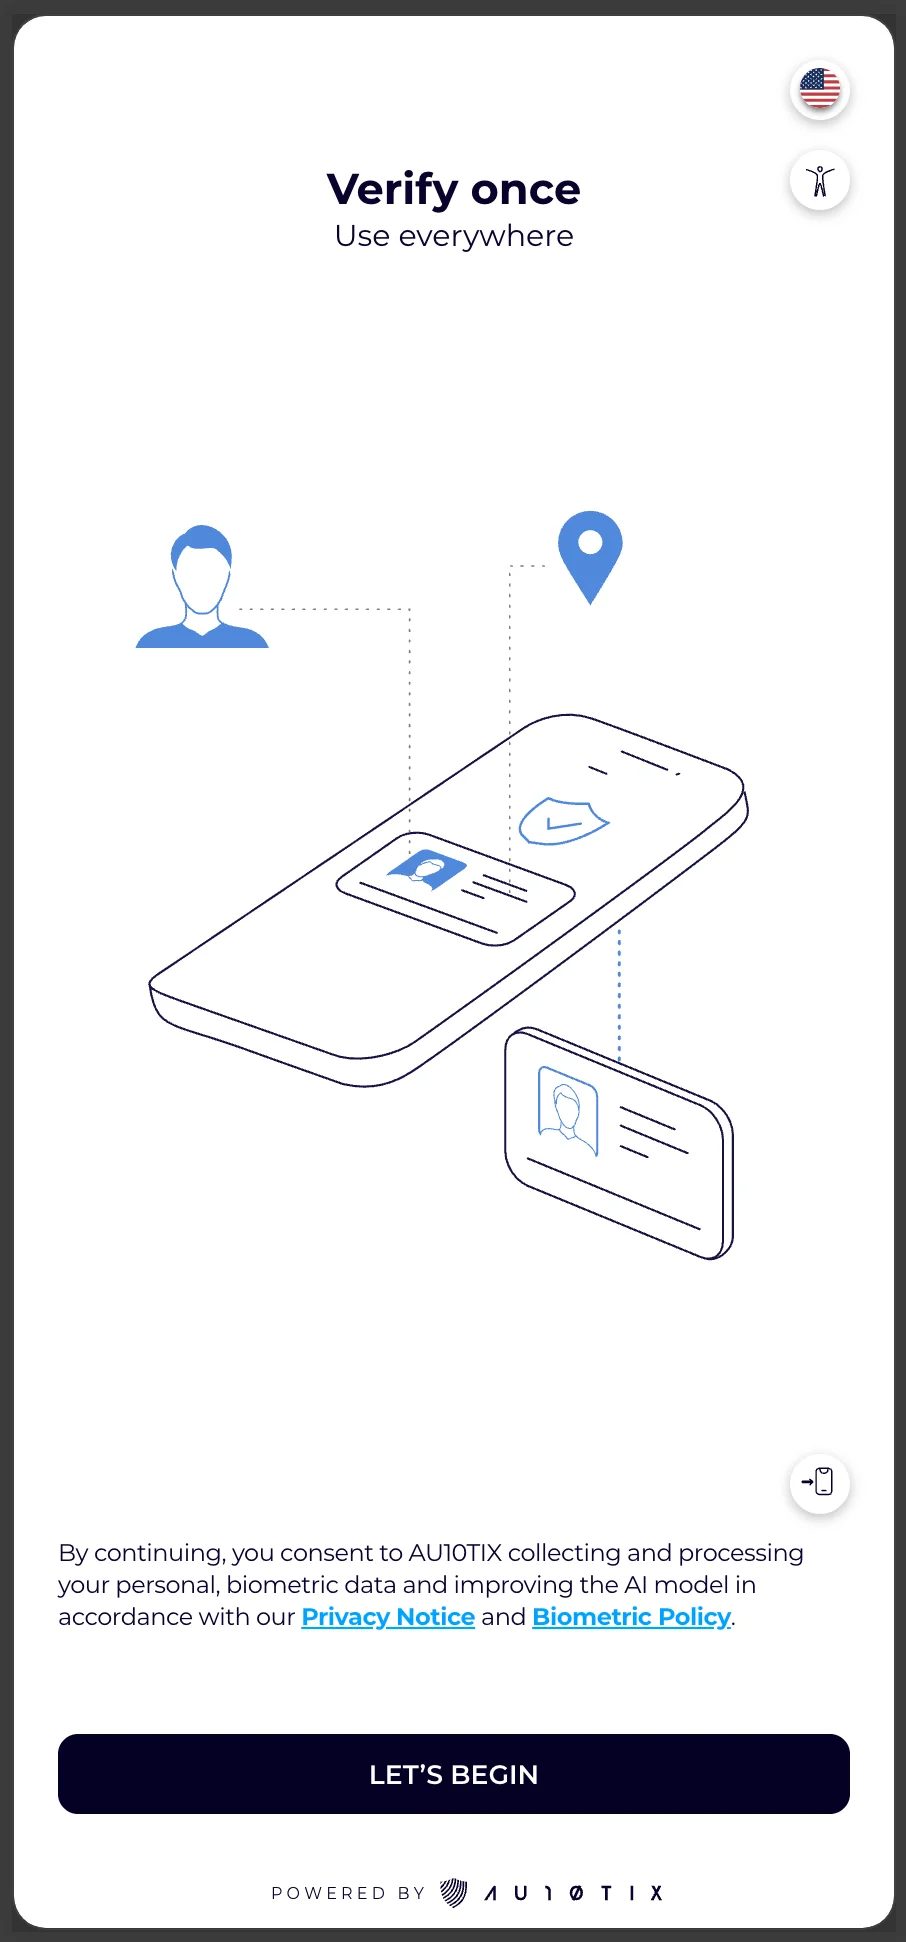
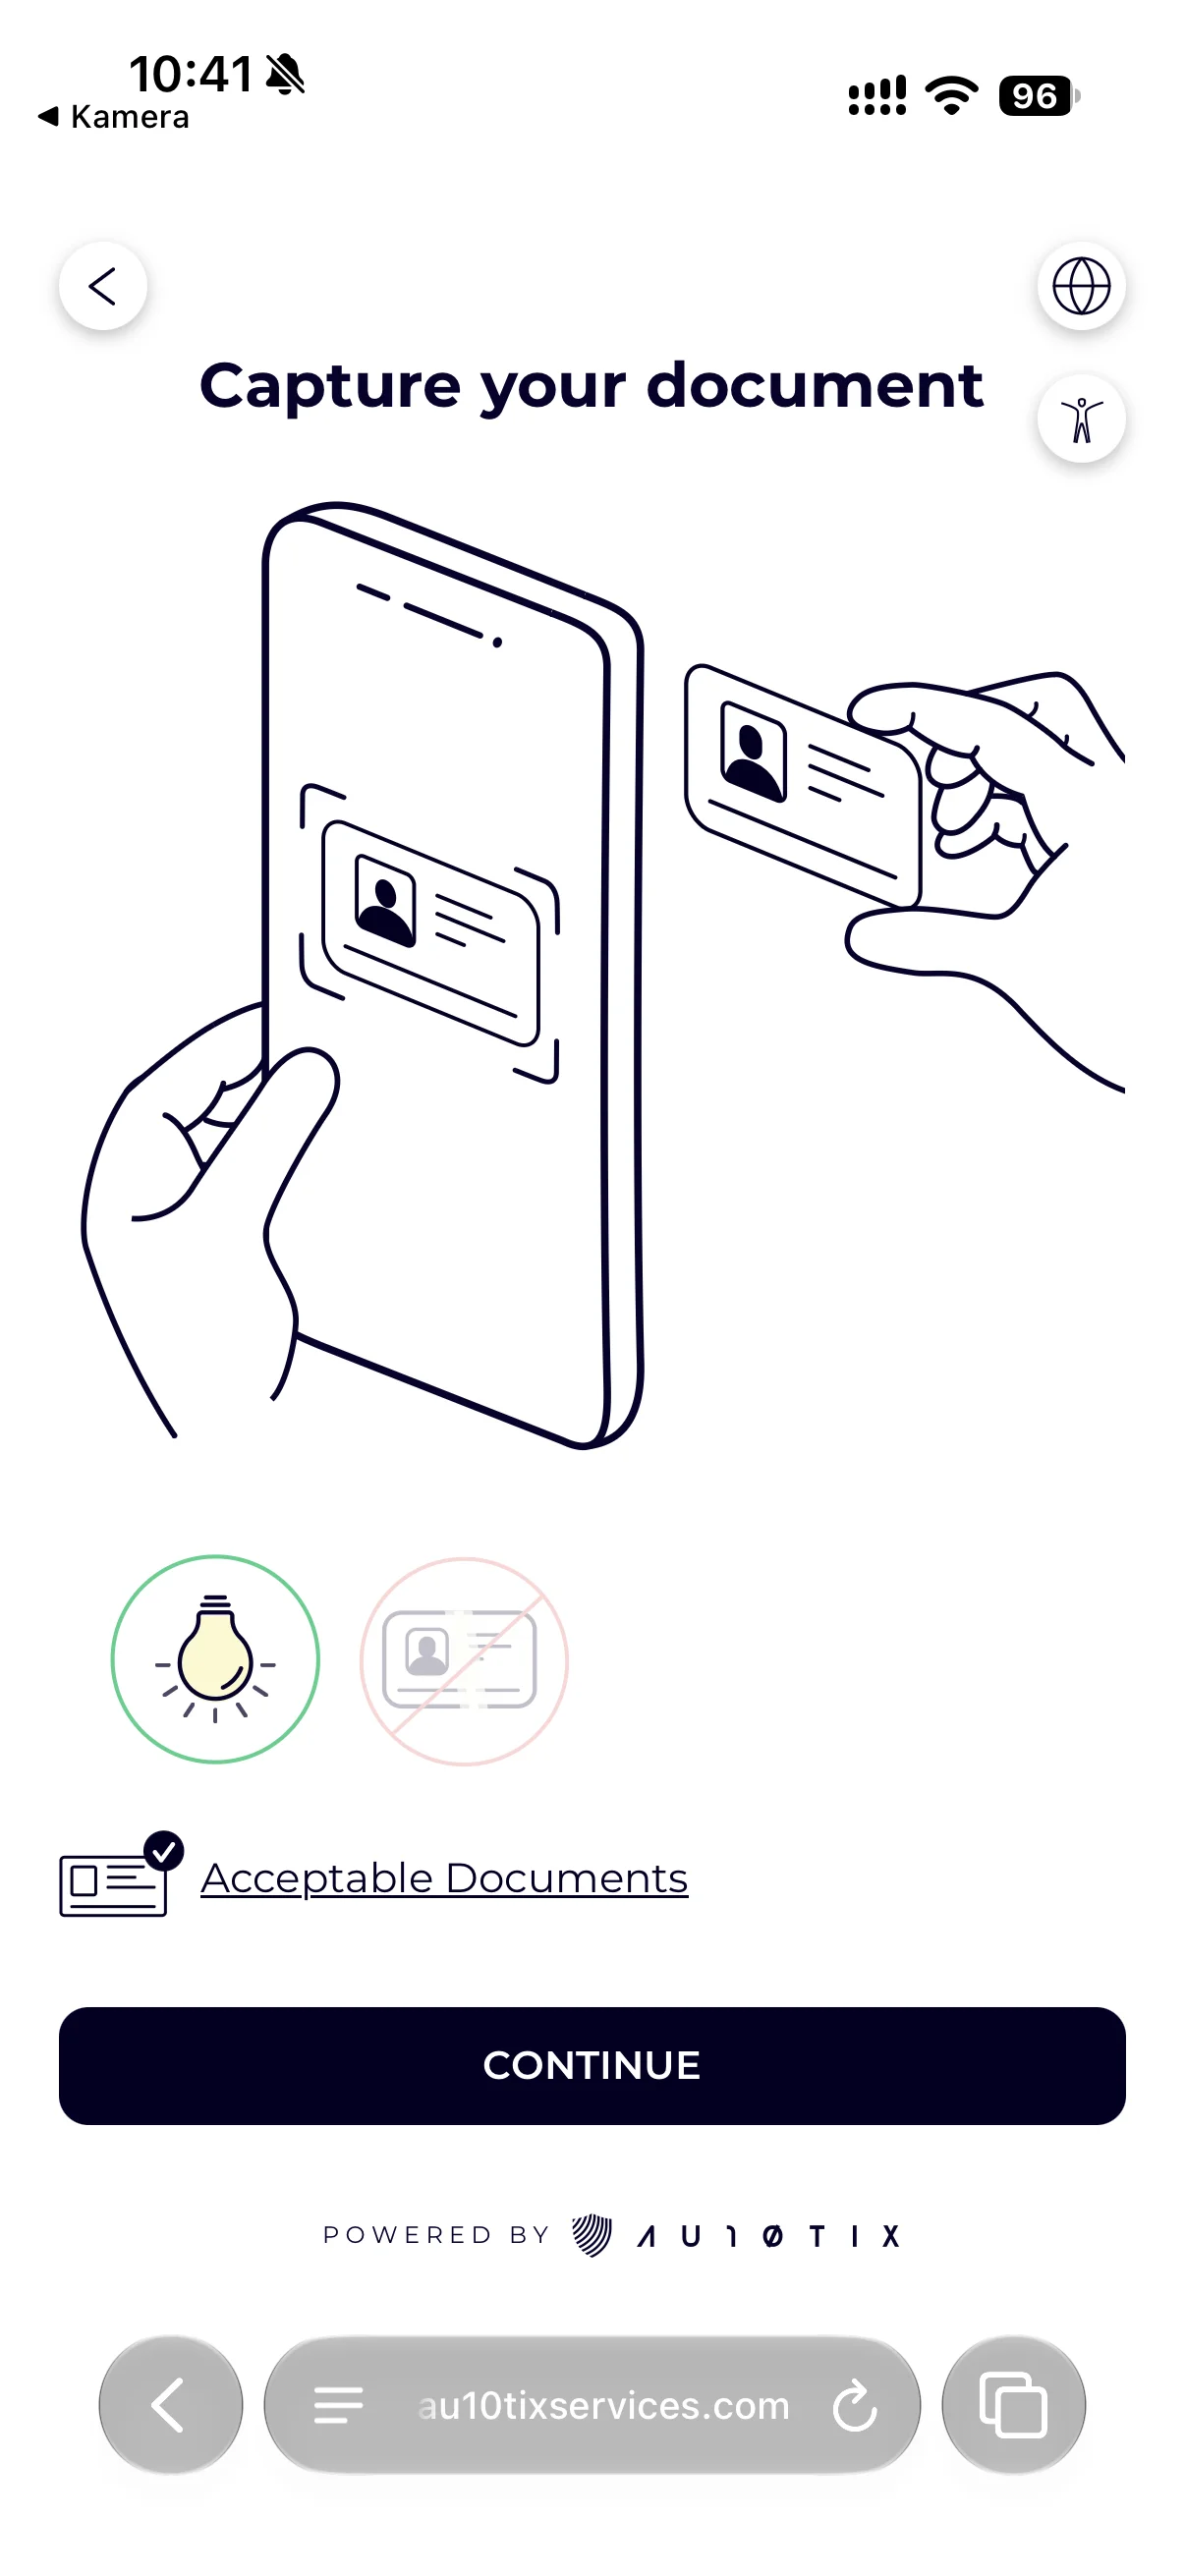
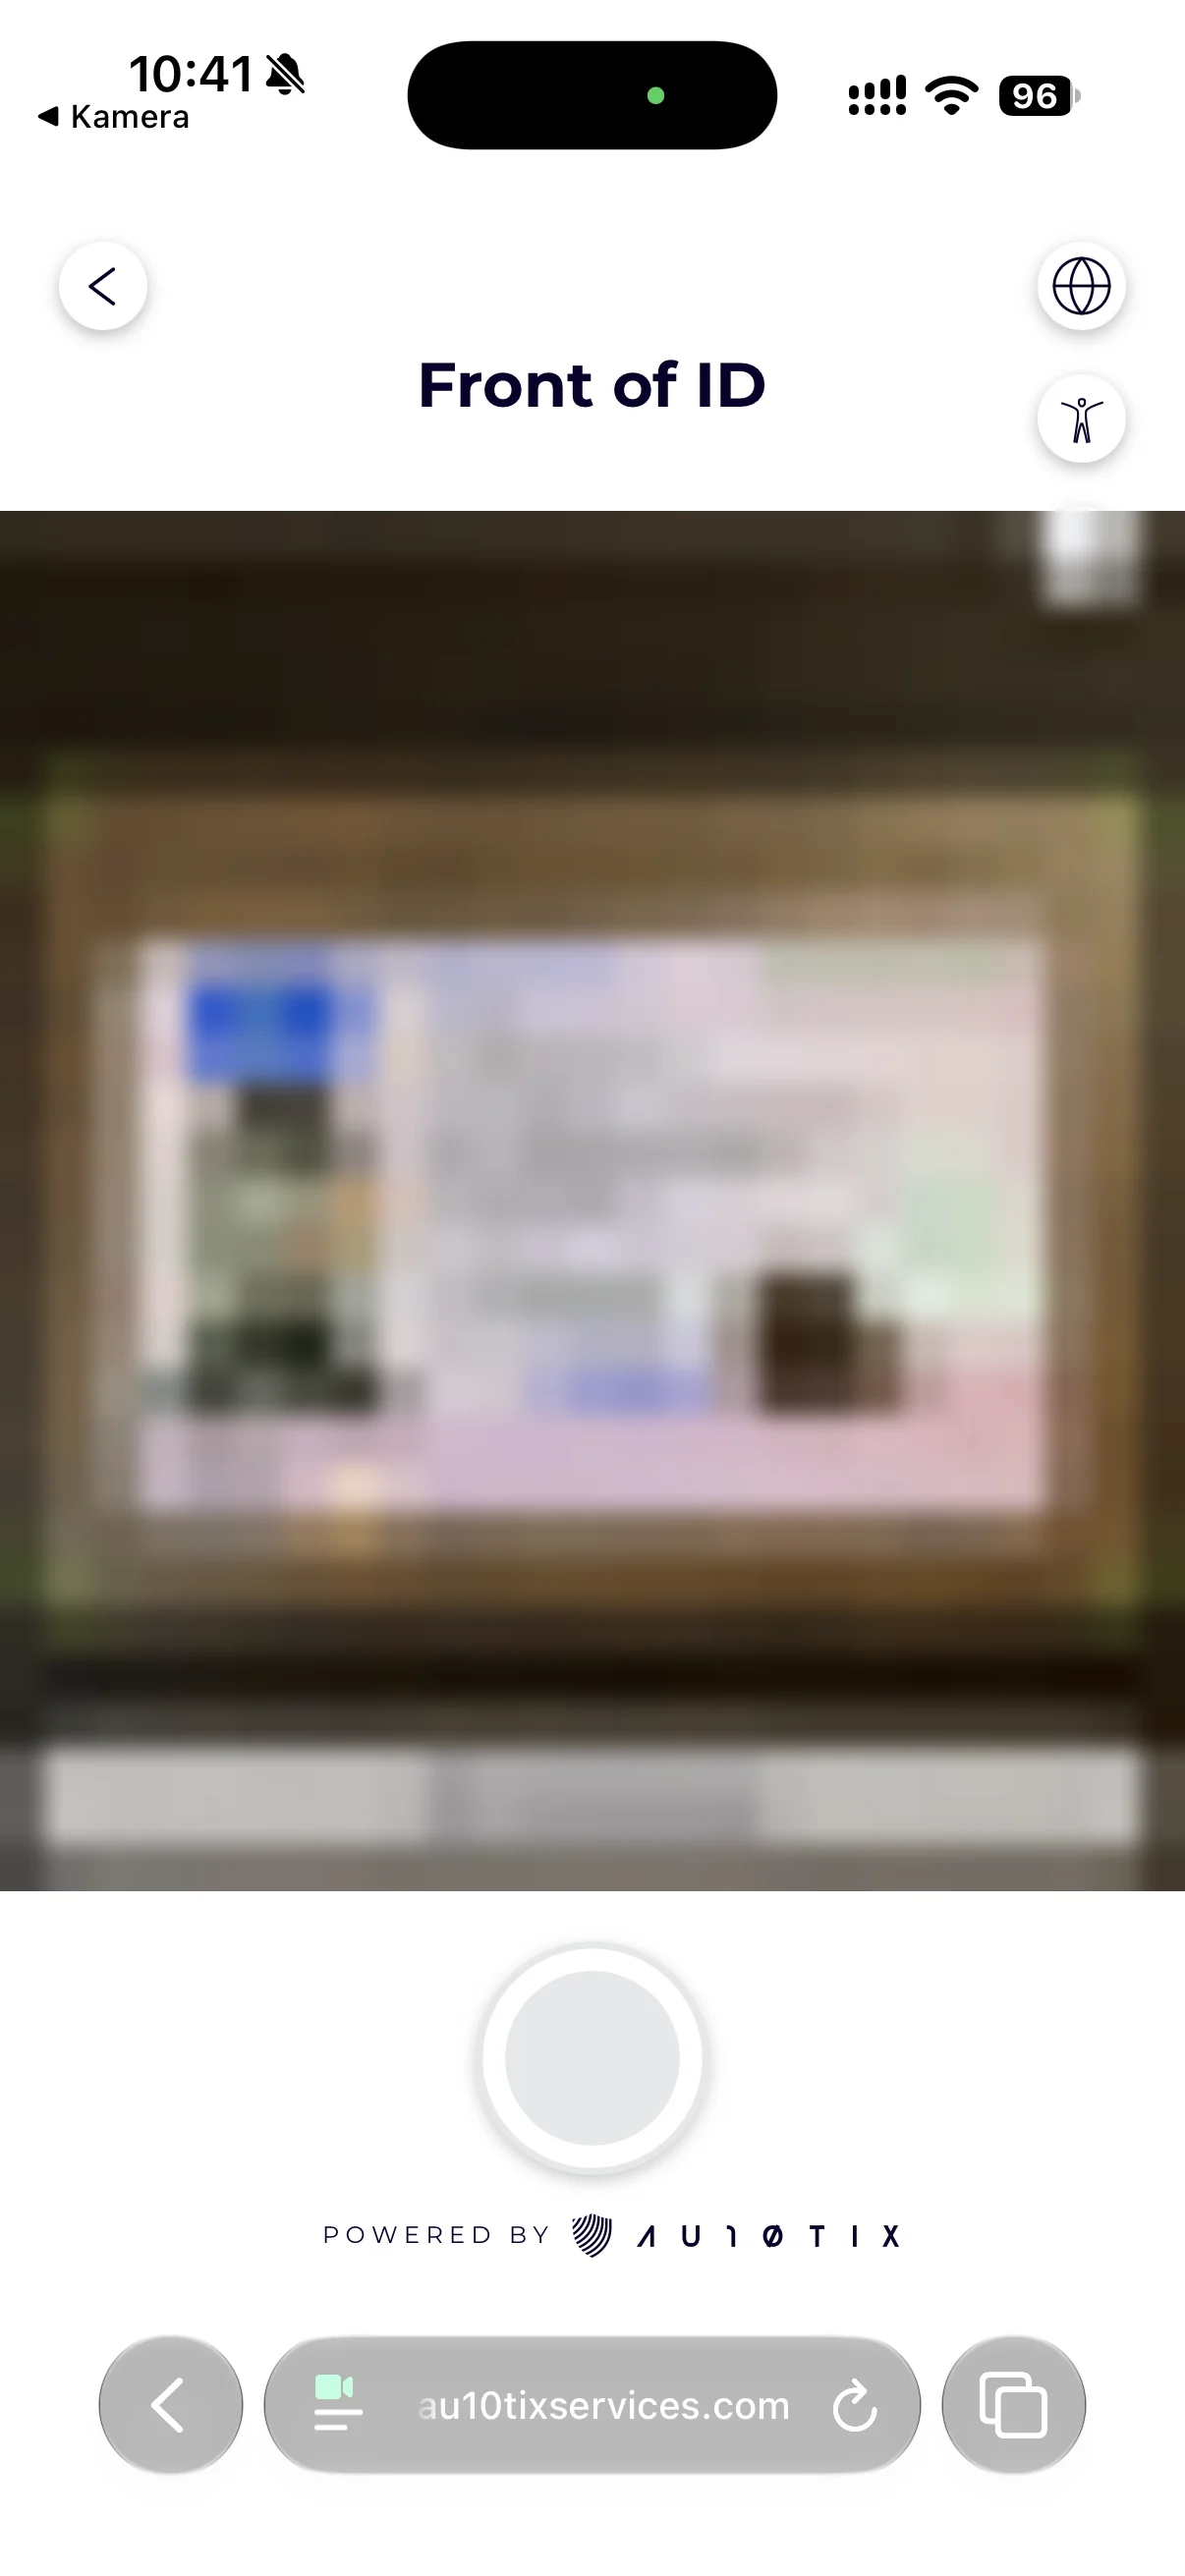
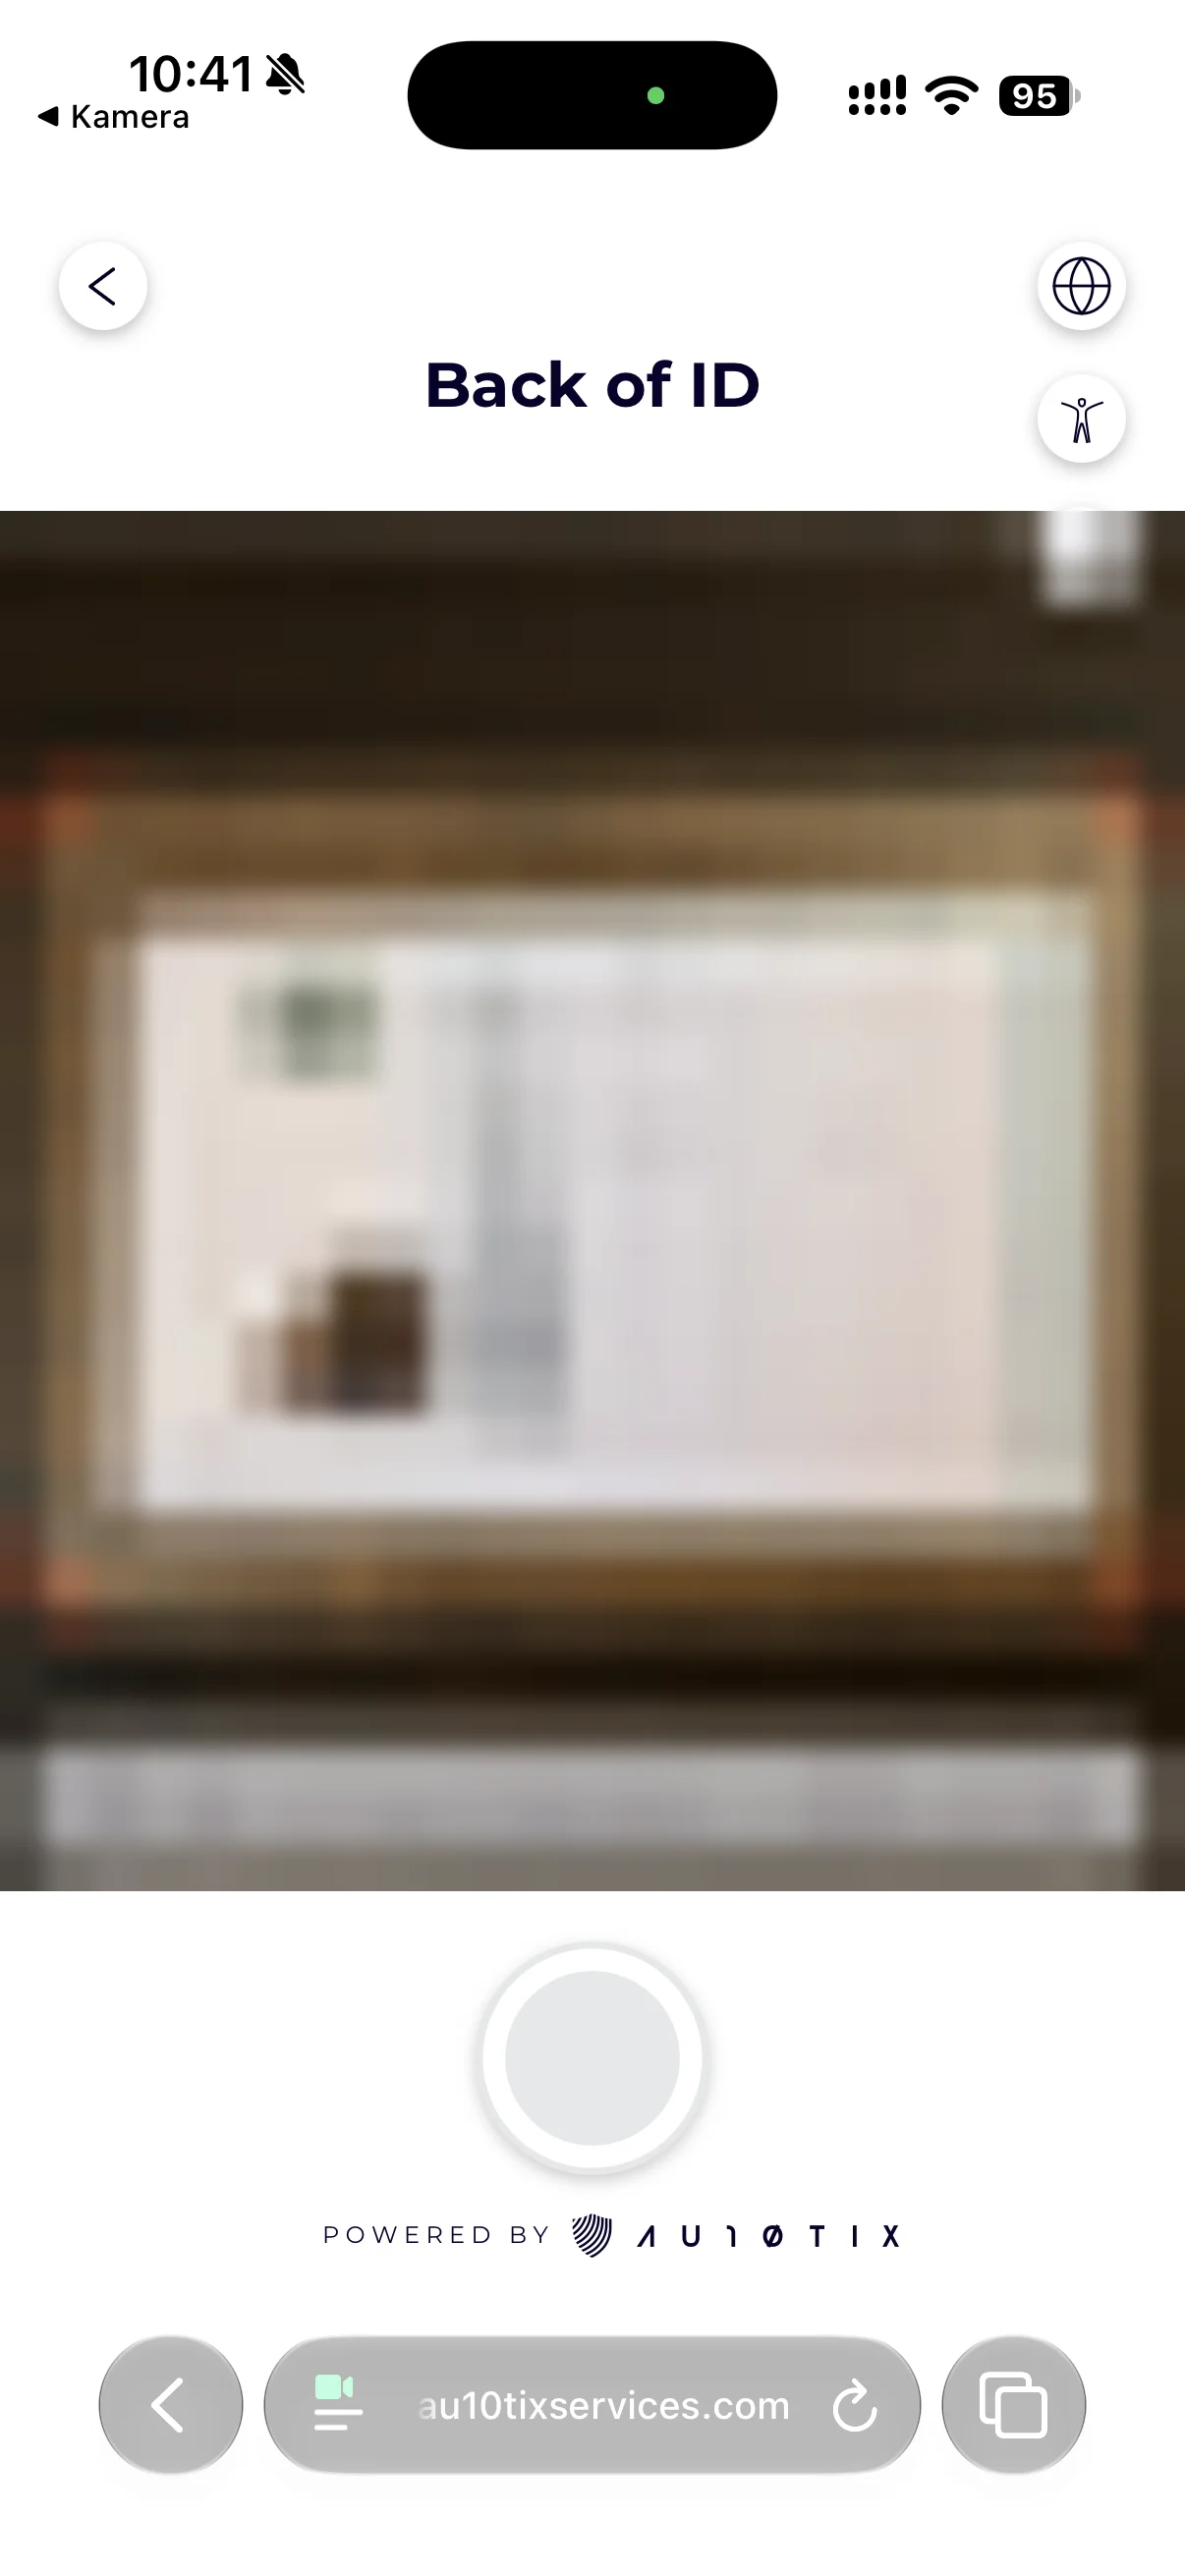
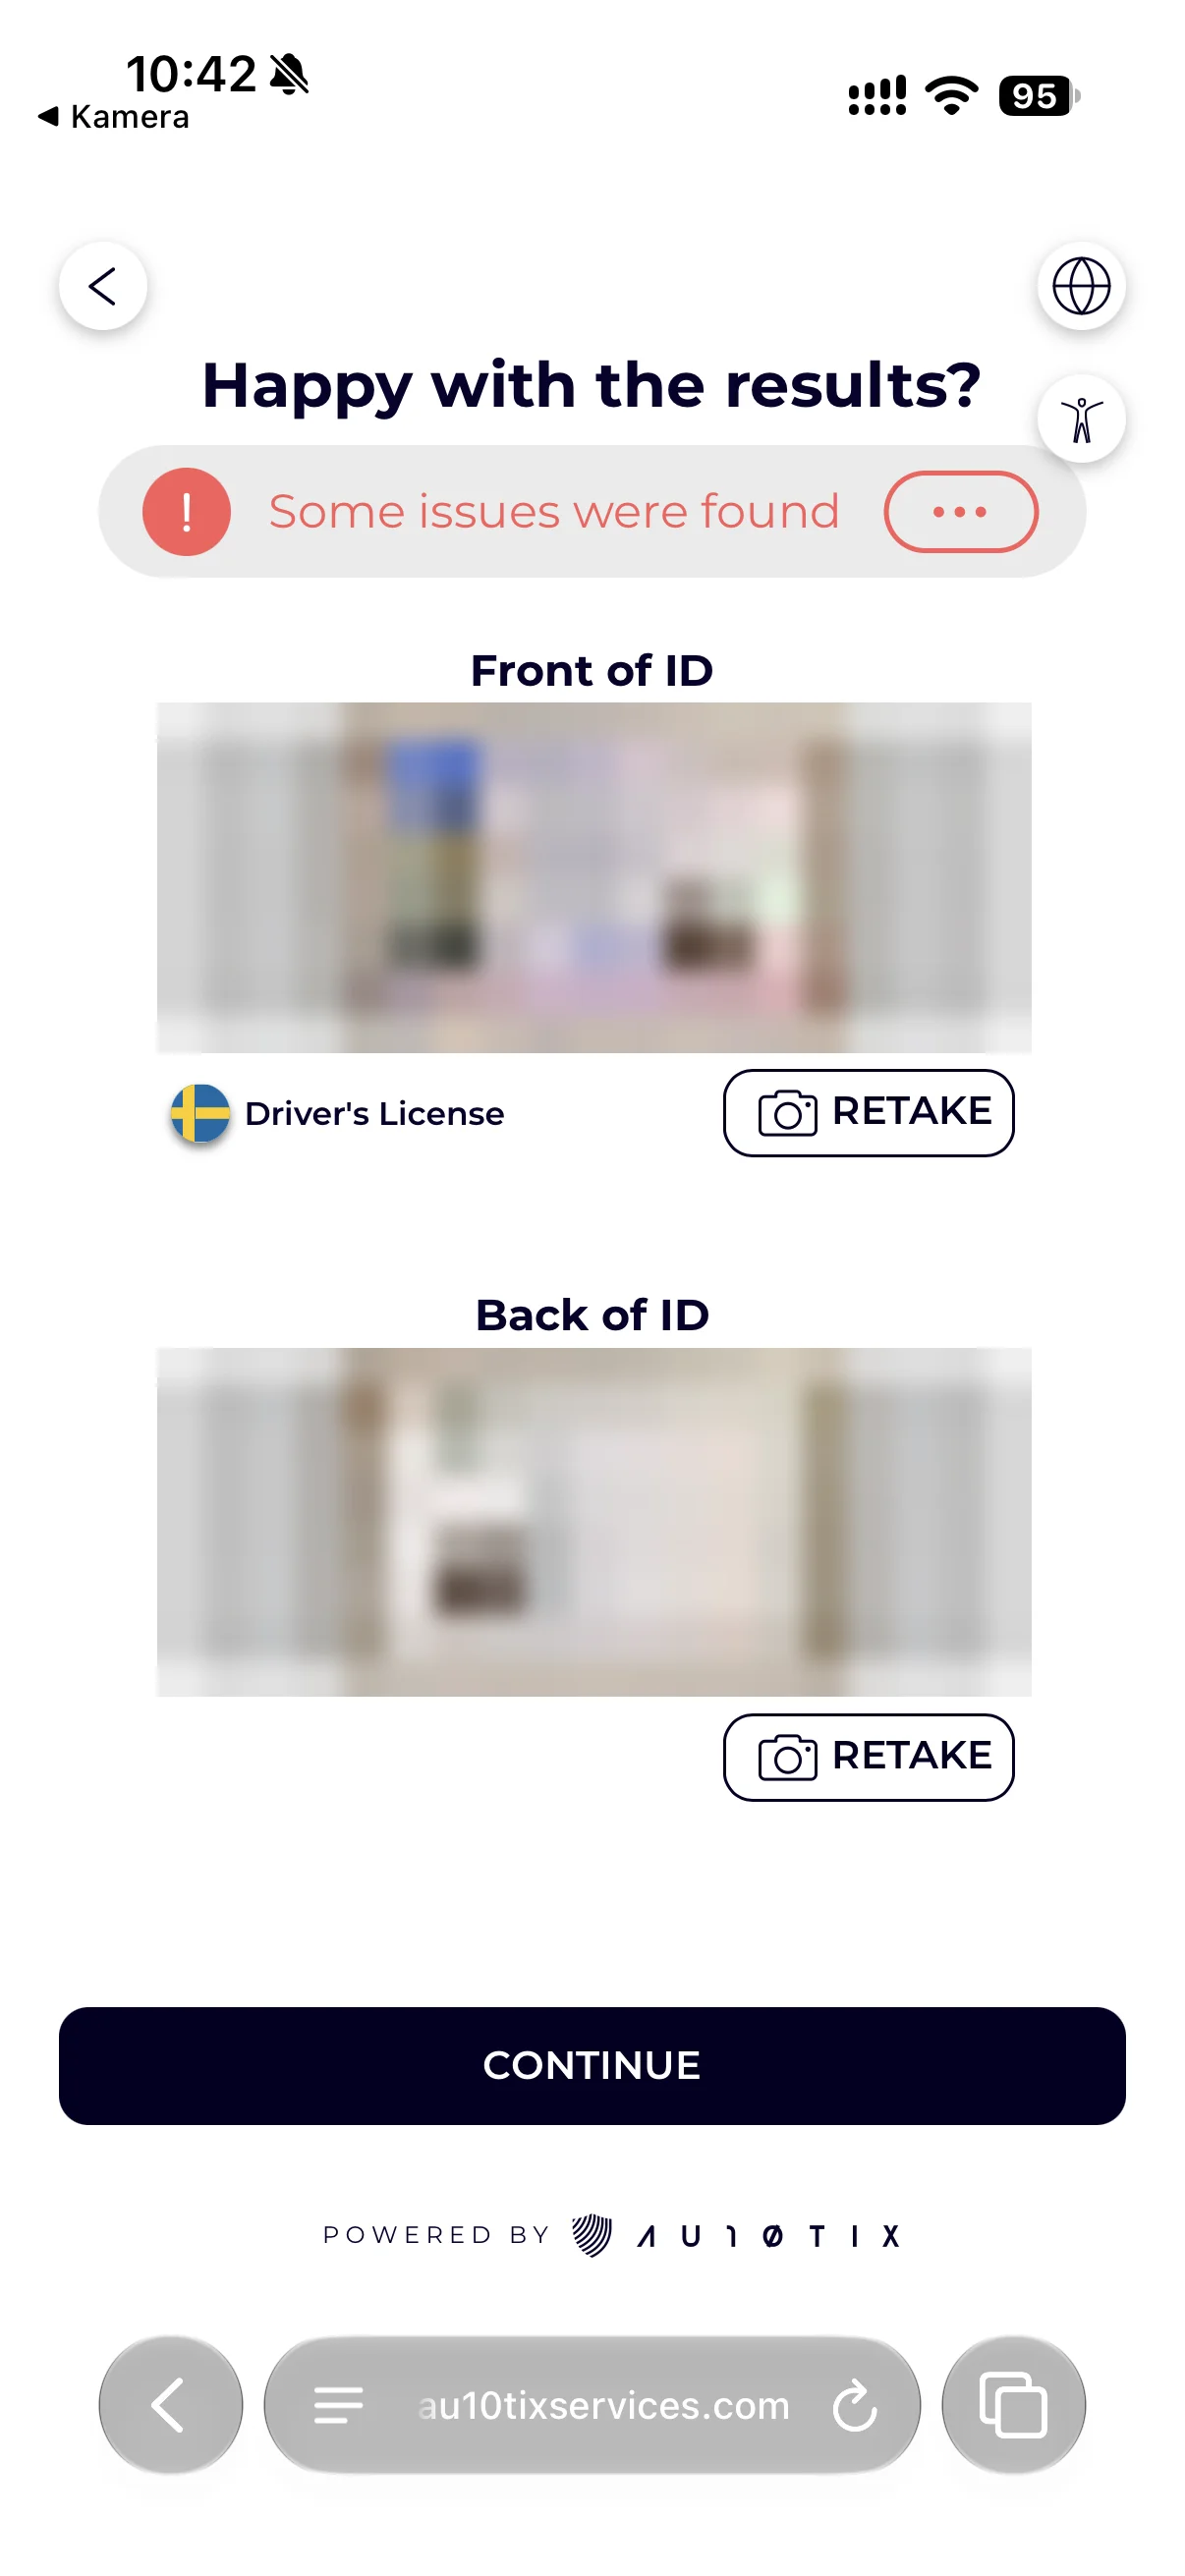
3. Verify with the provider
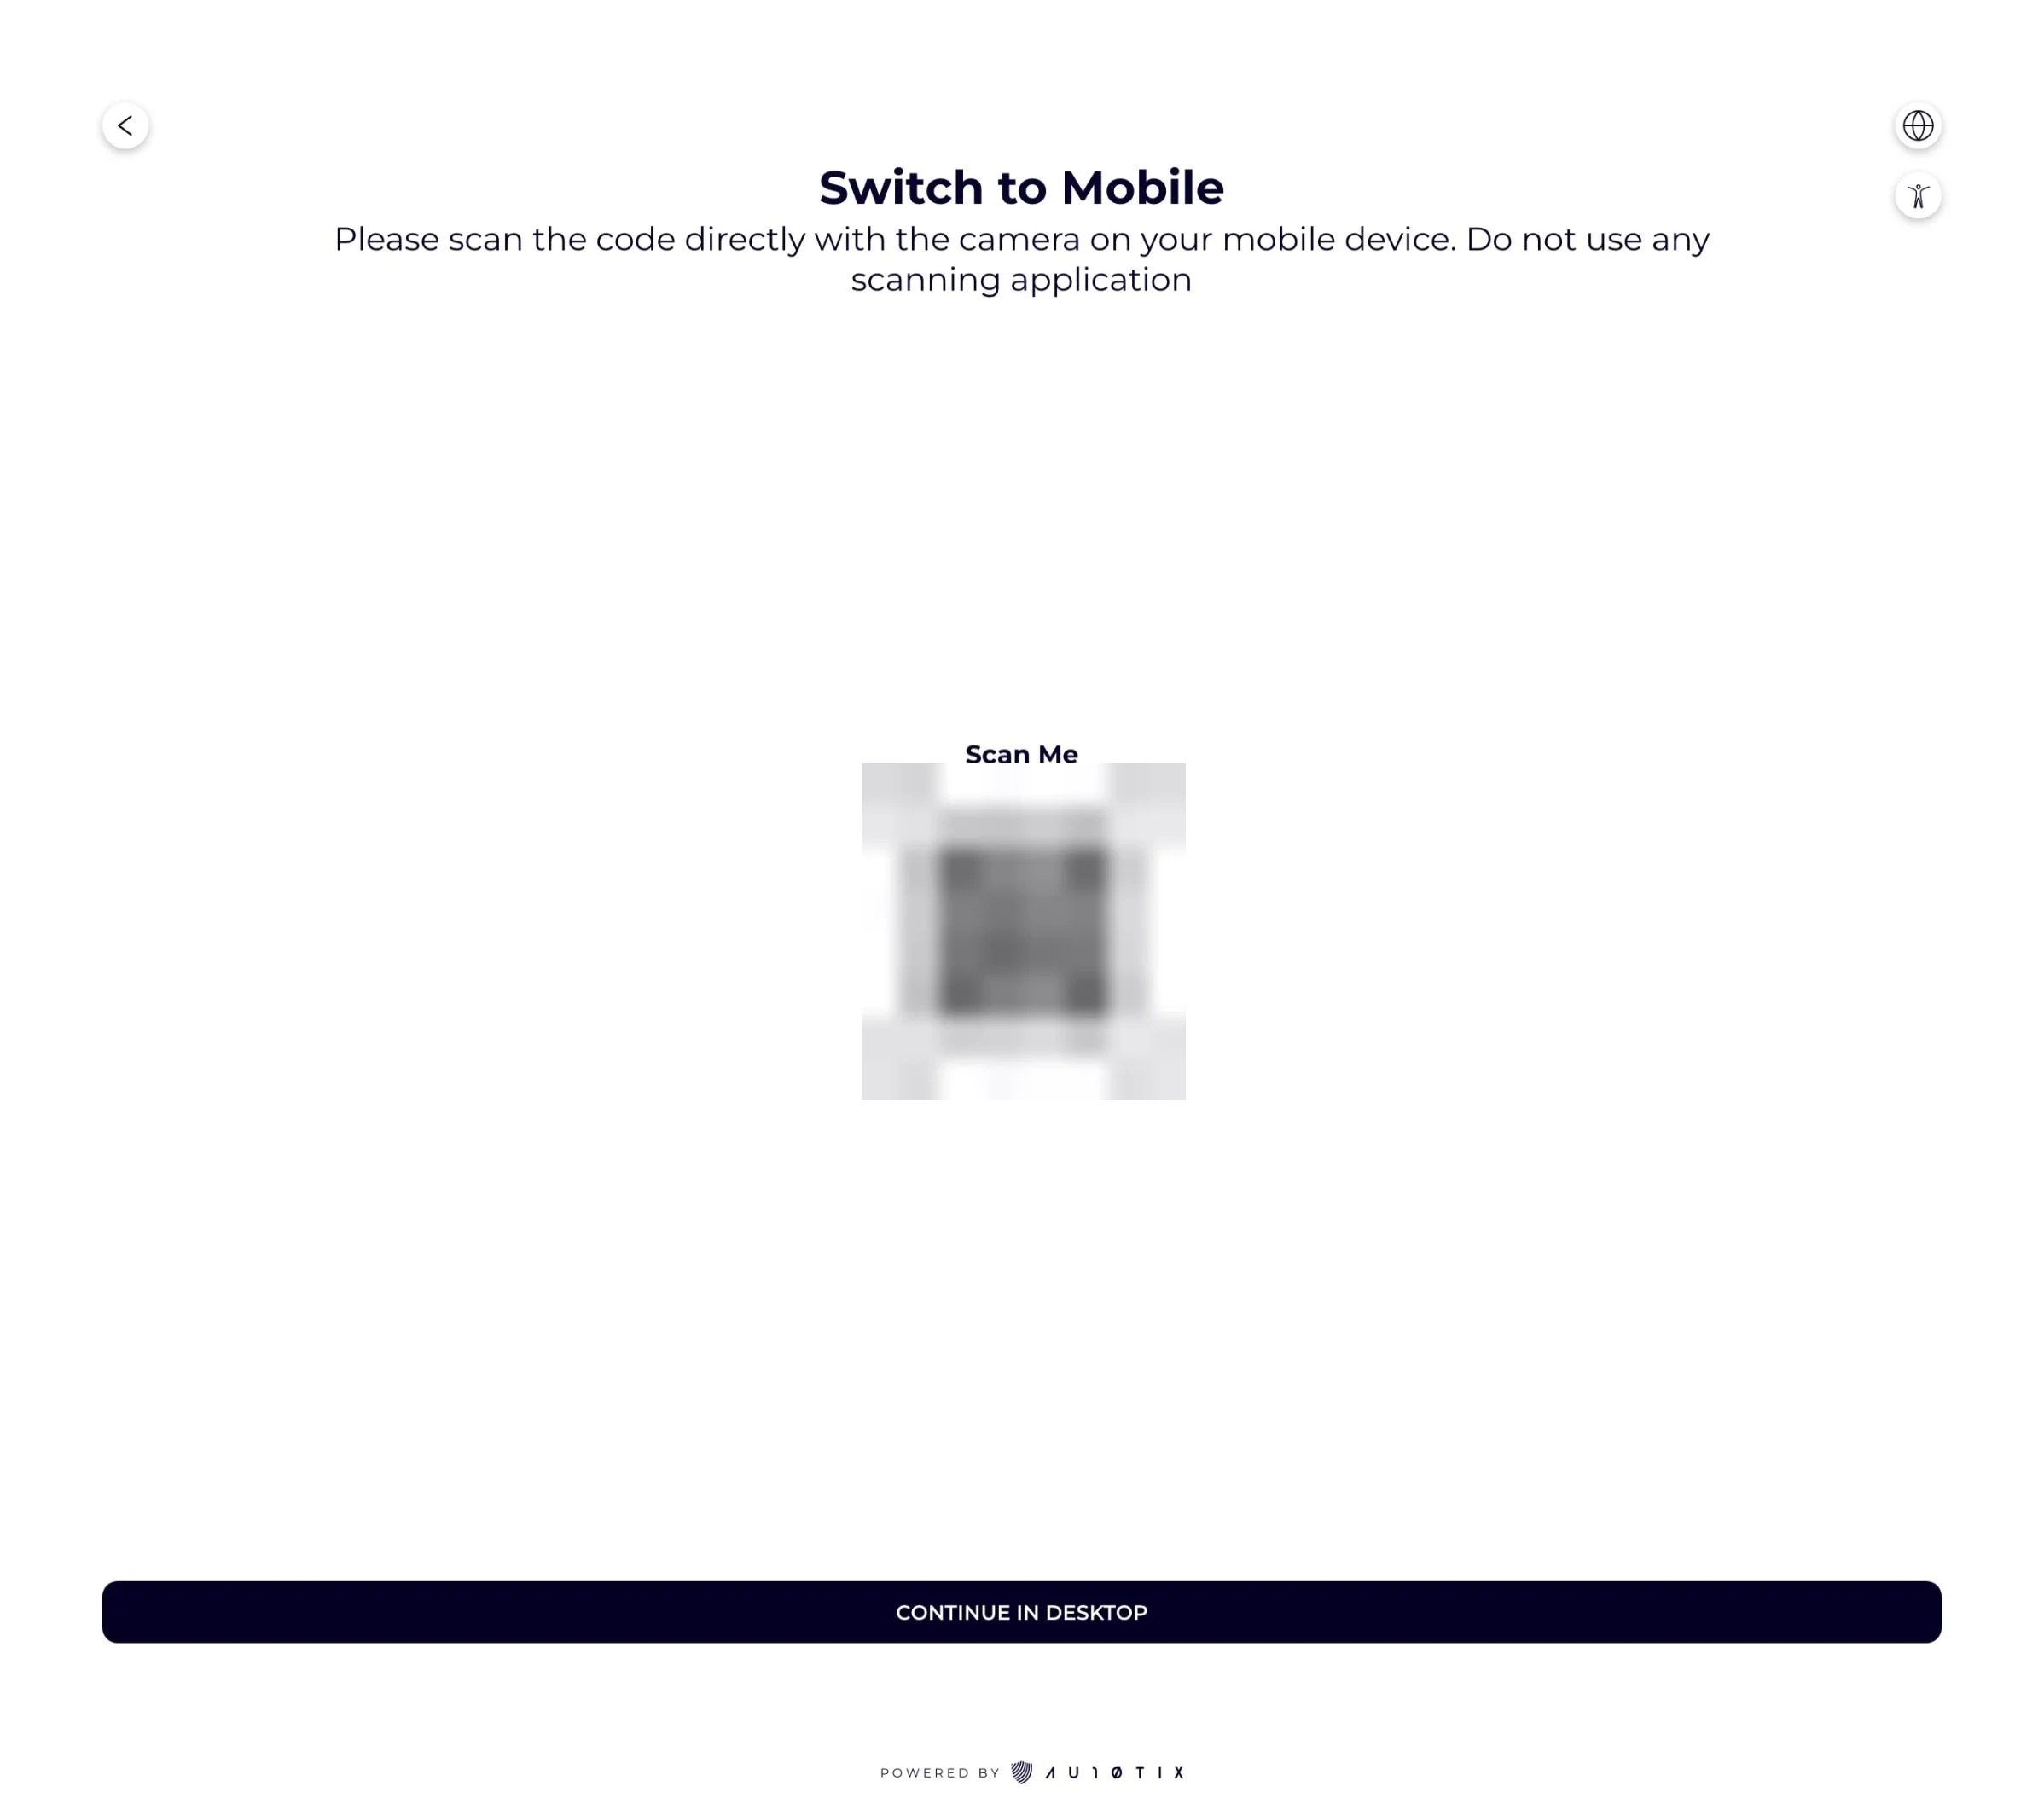
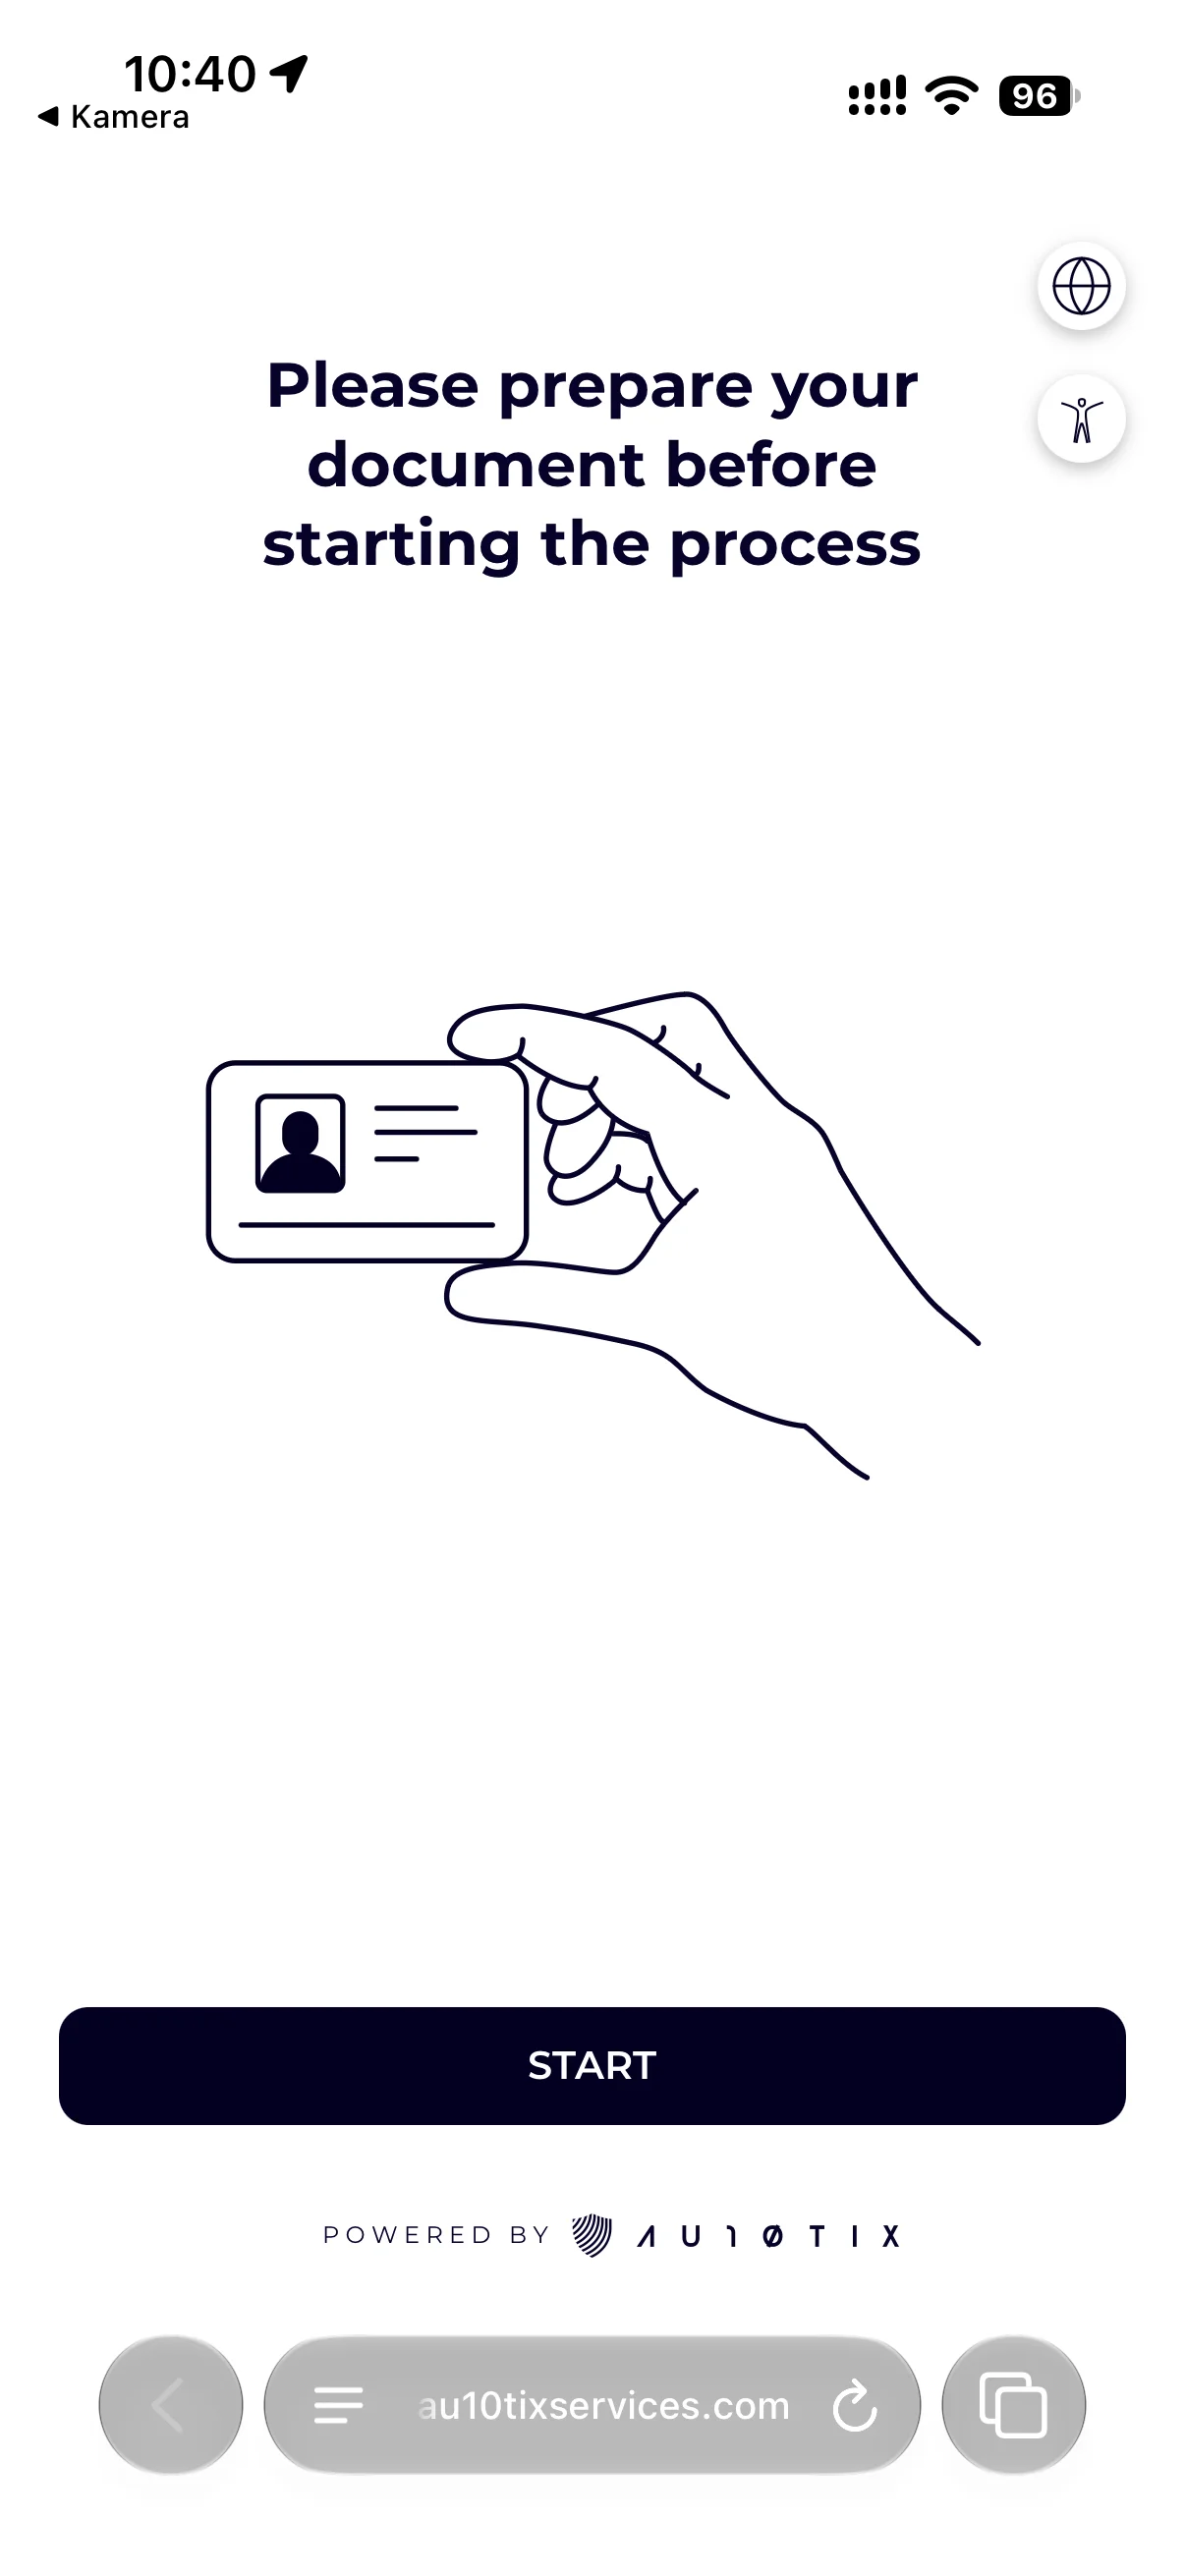
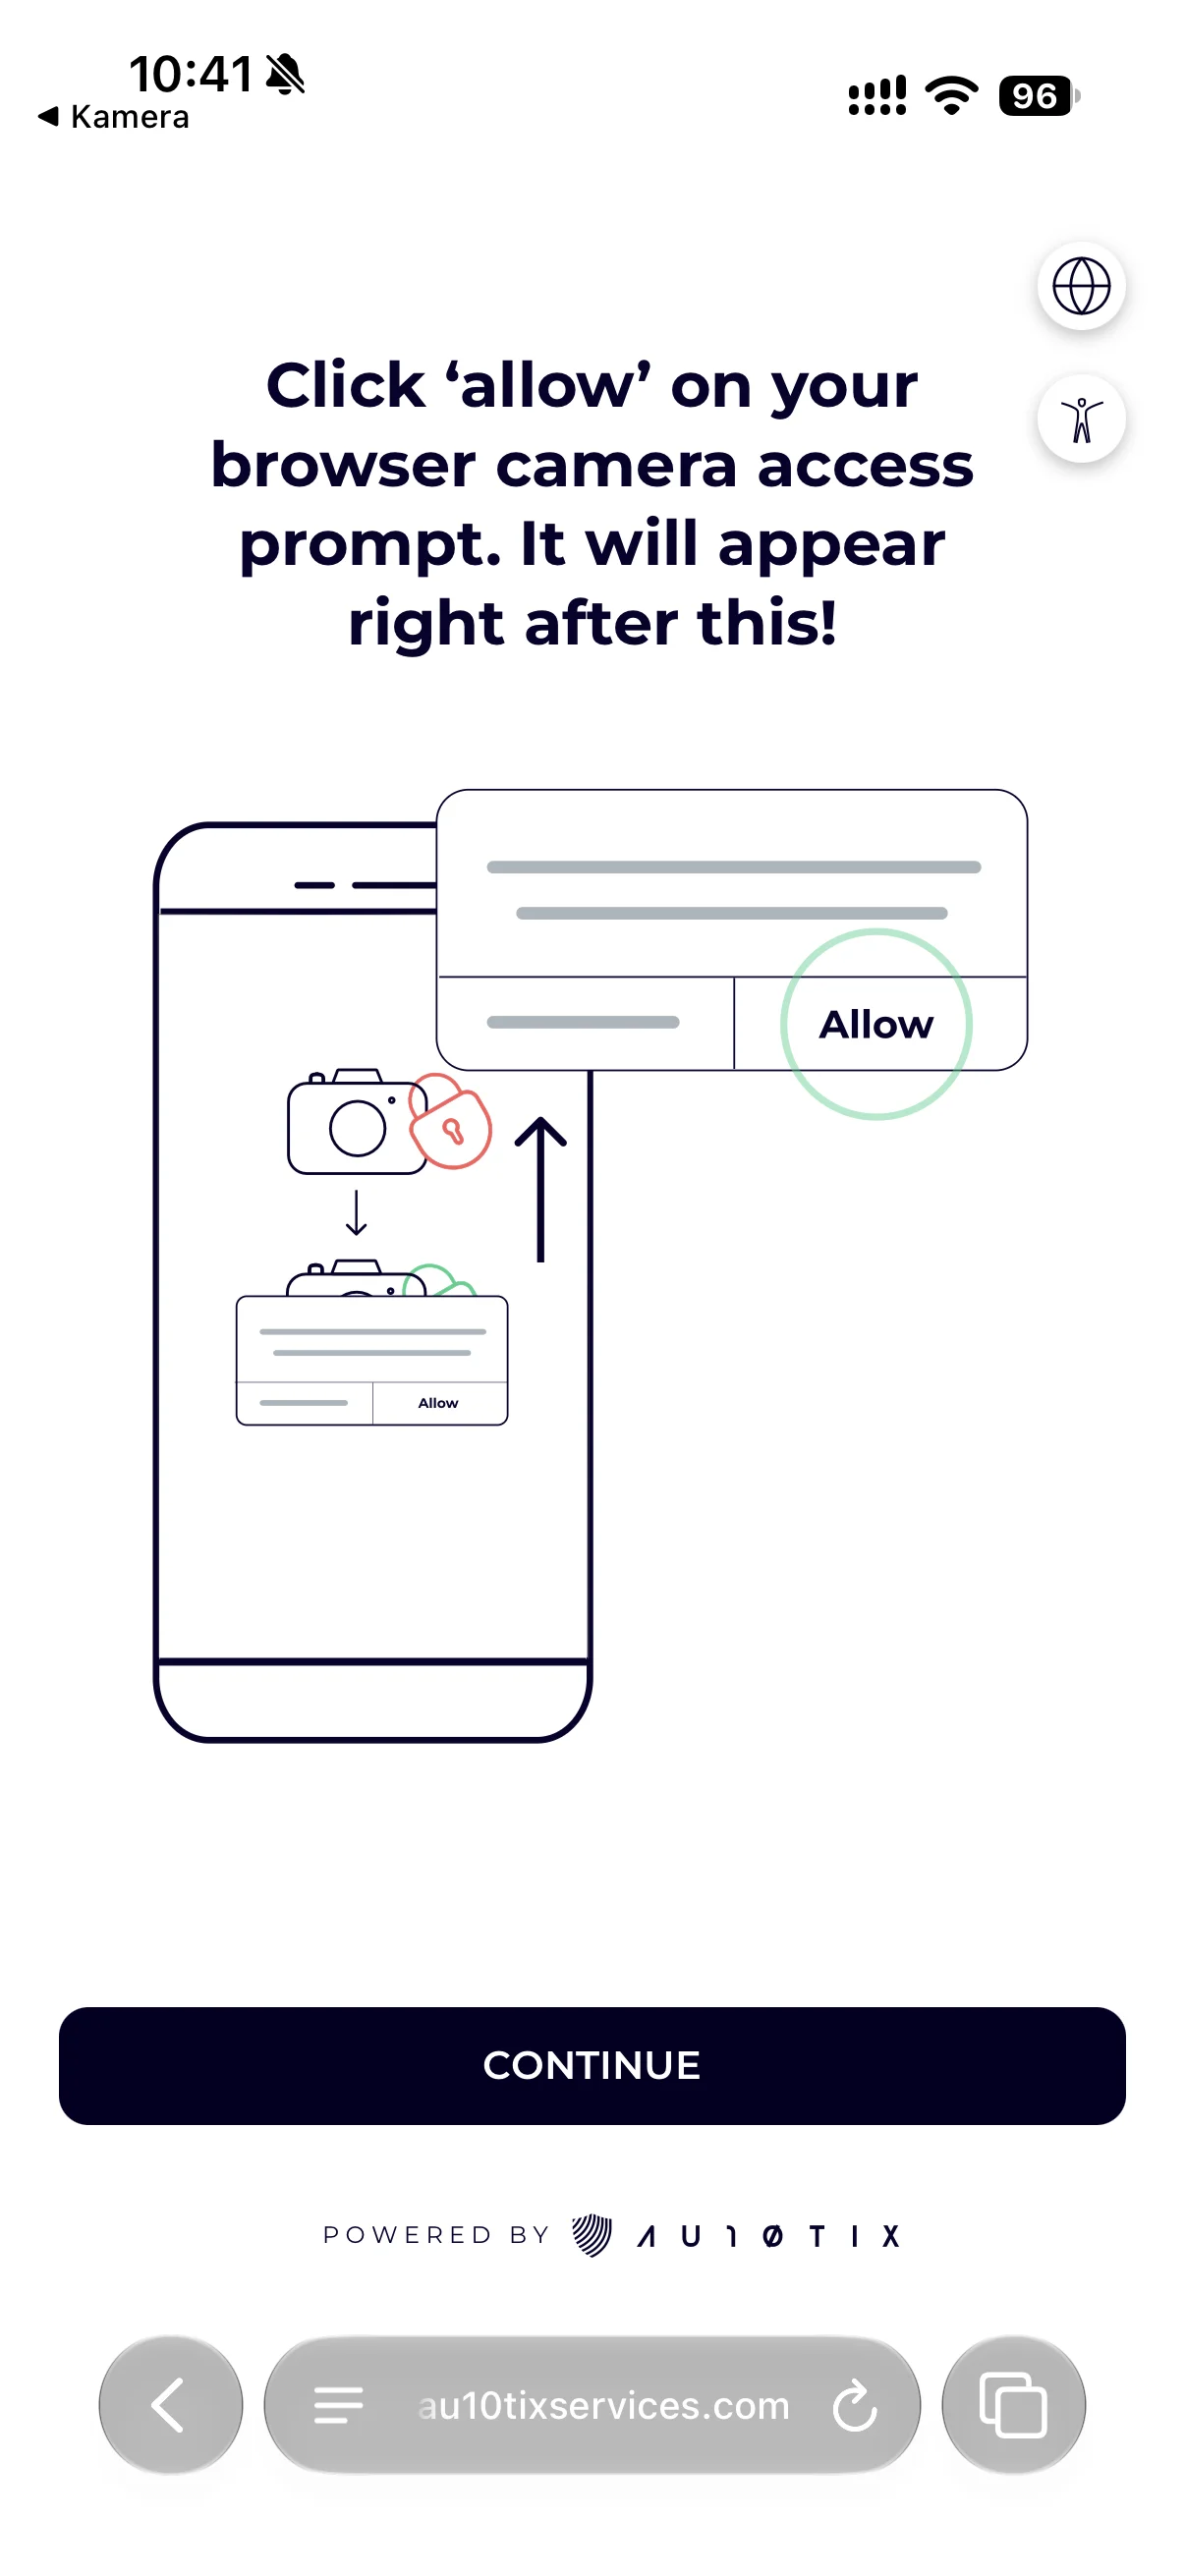
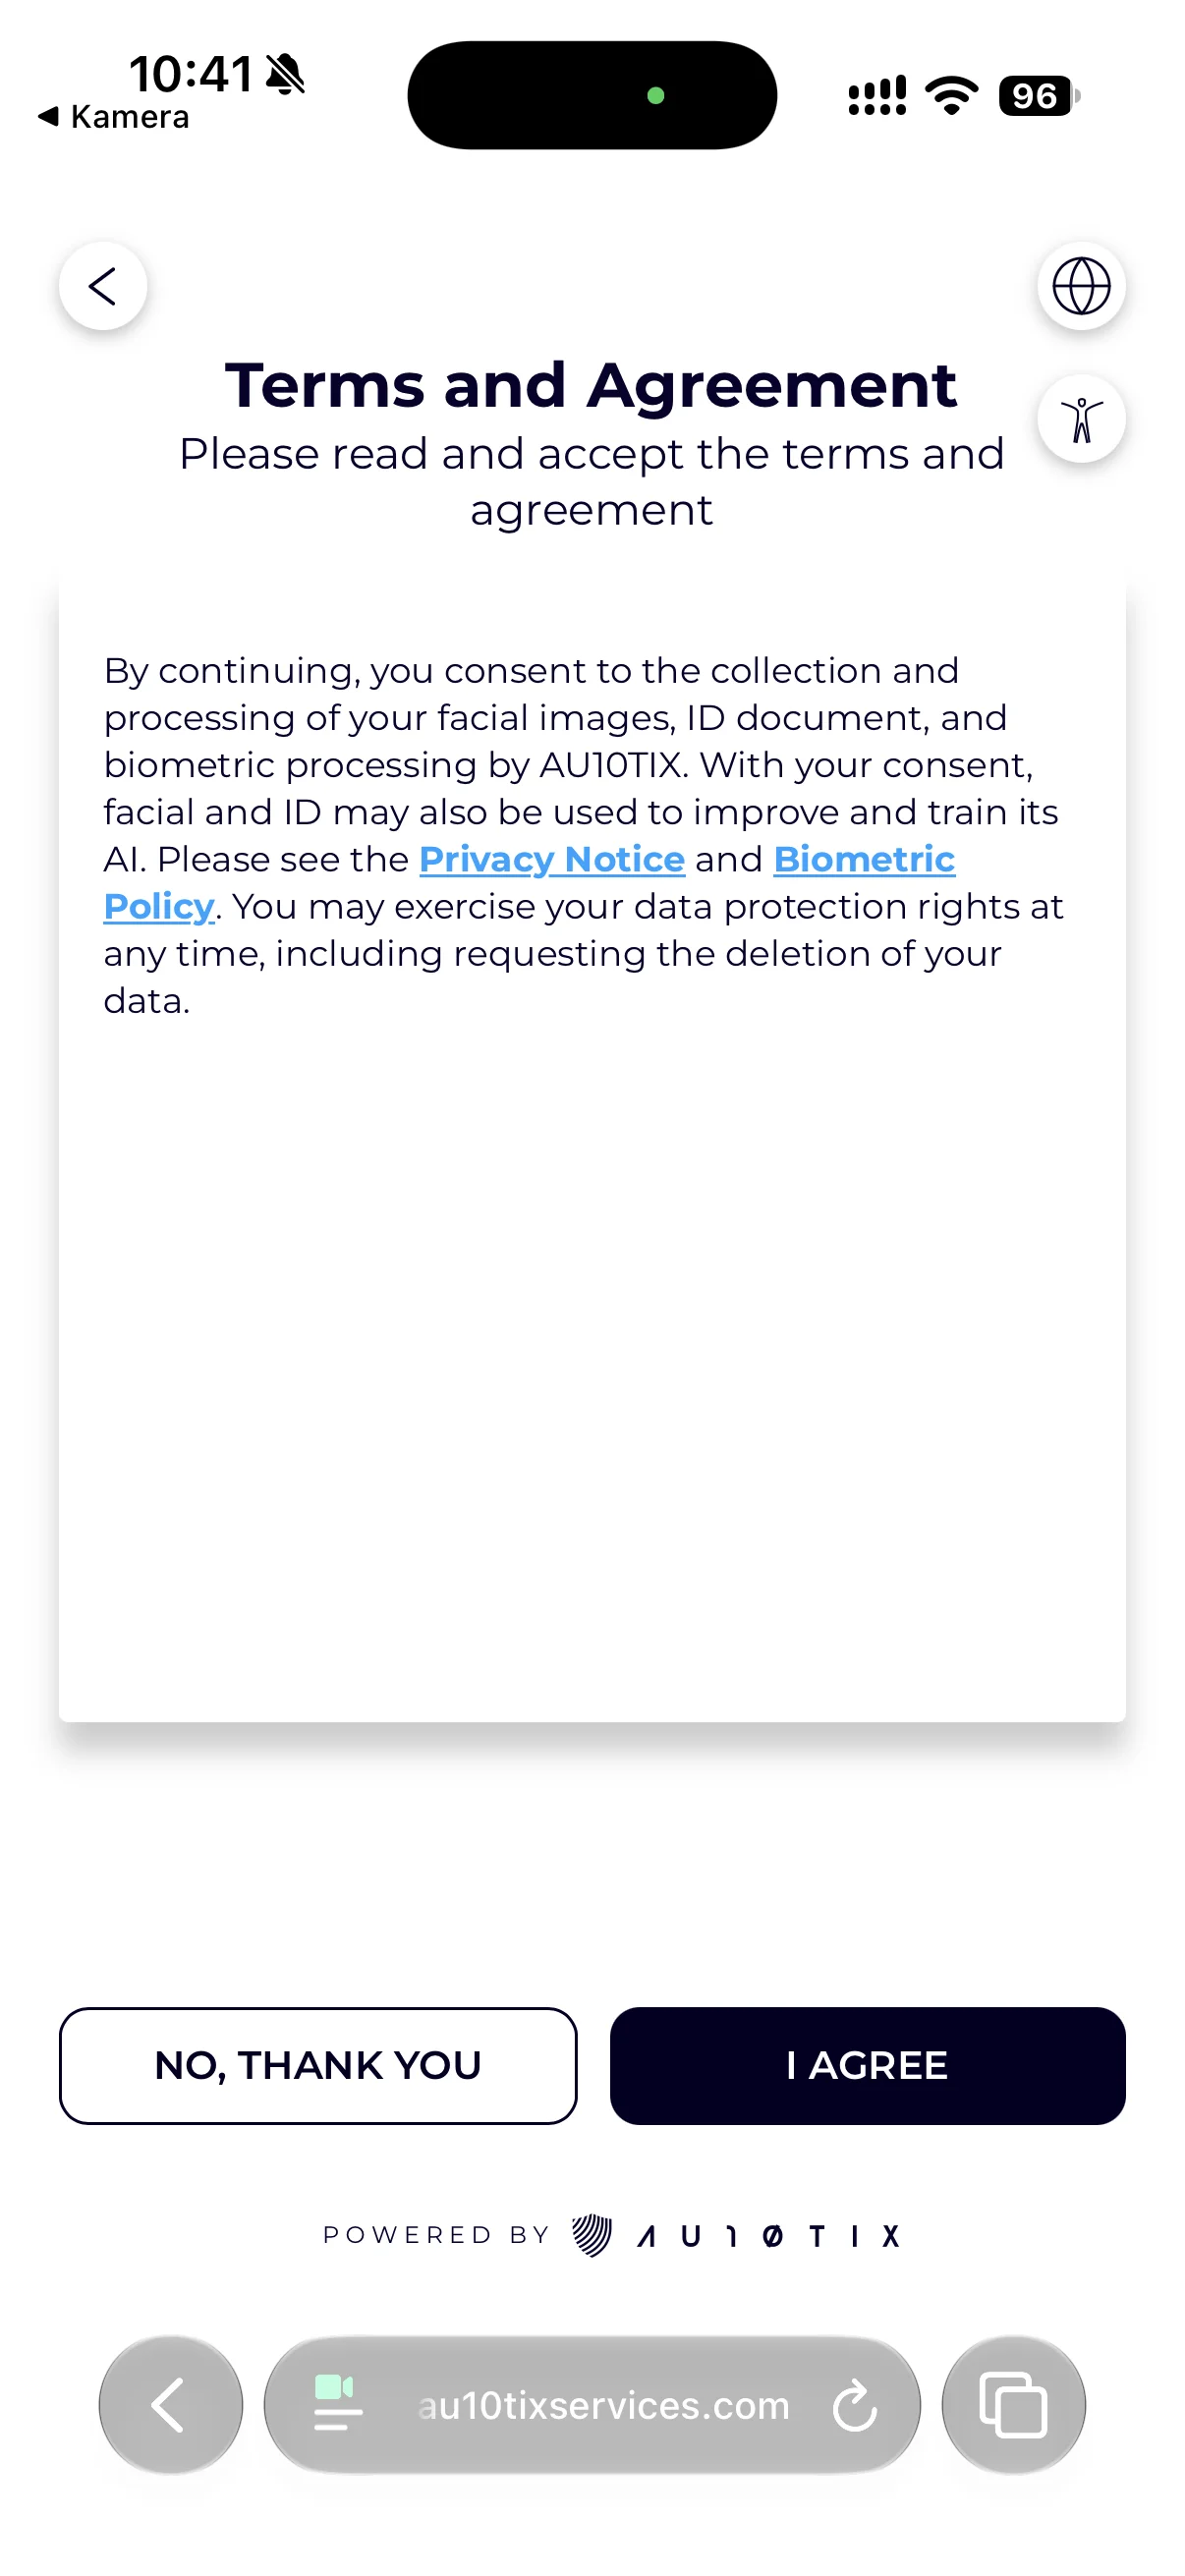
The screens depend on the provider; this example uses AU10TIX. On a computer, the user can scan a QR code to continue on their phone.
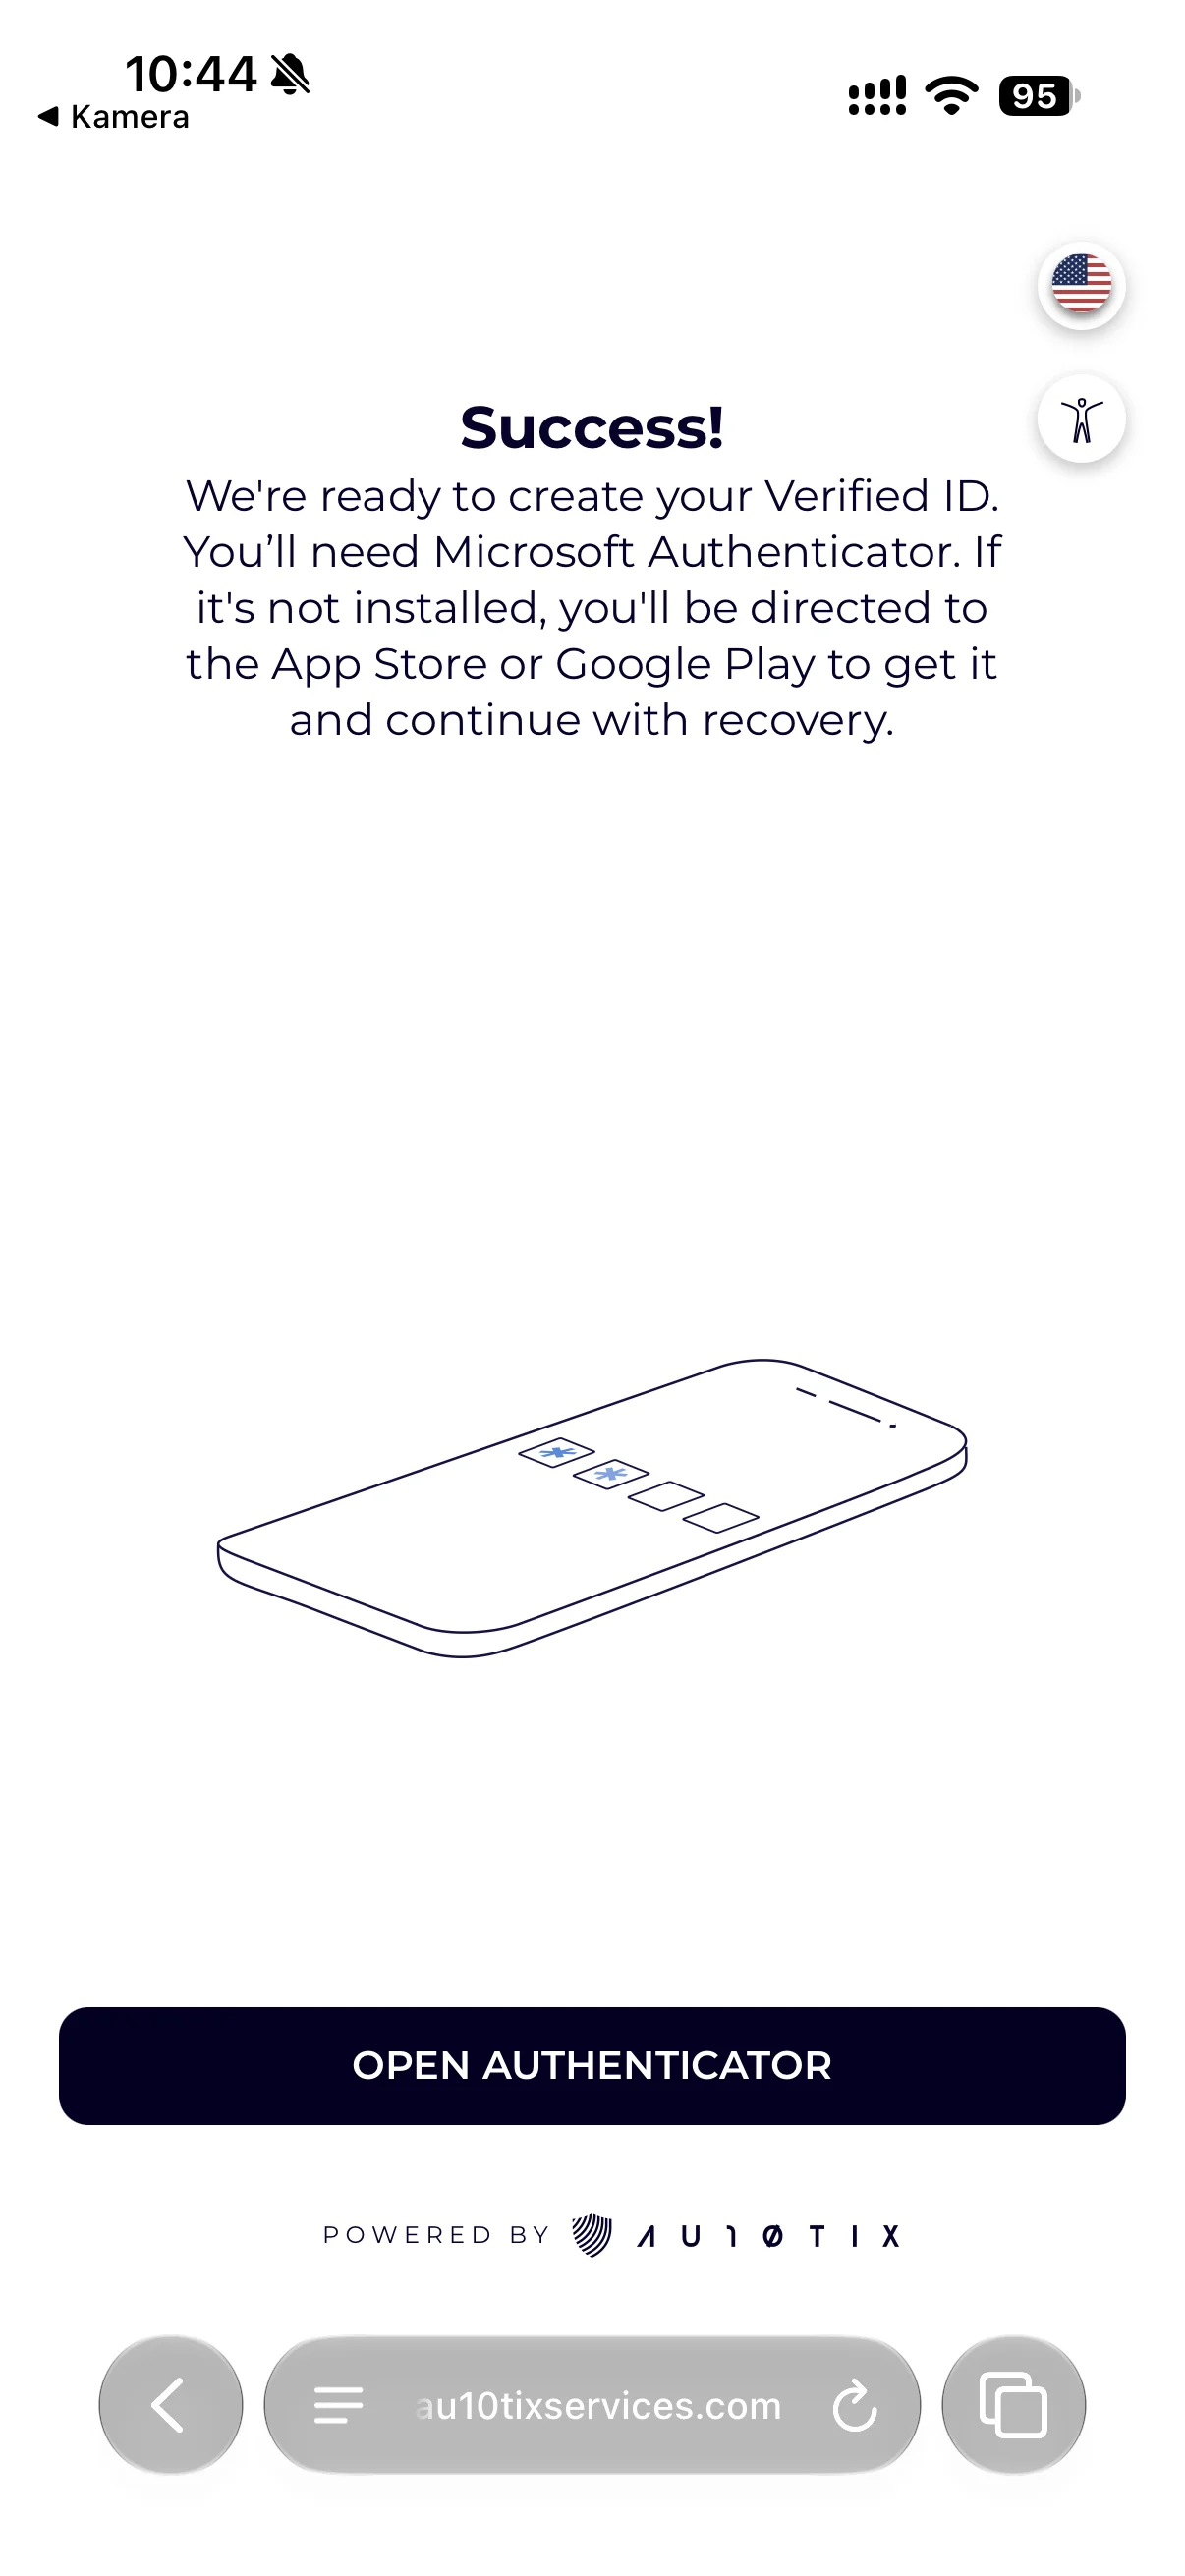
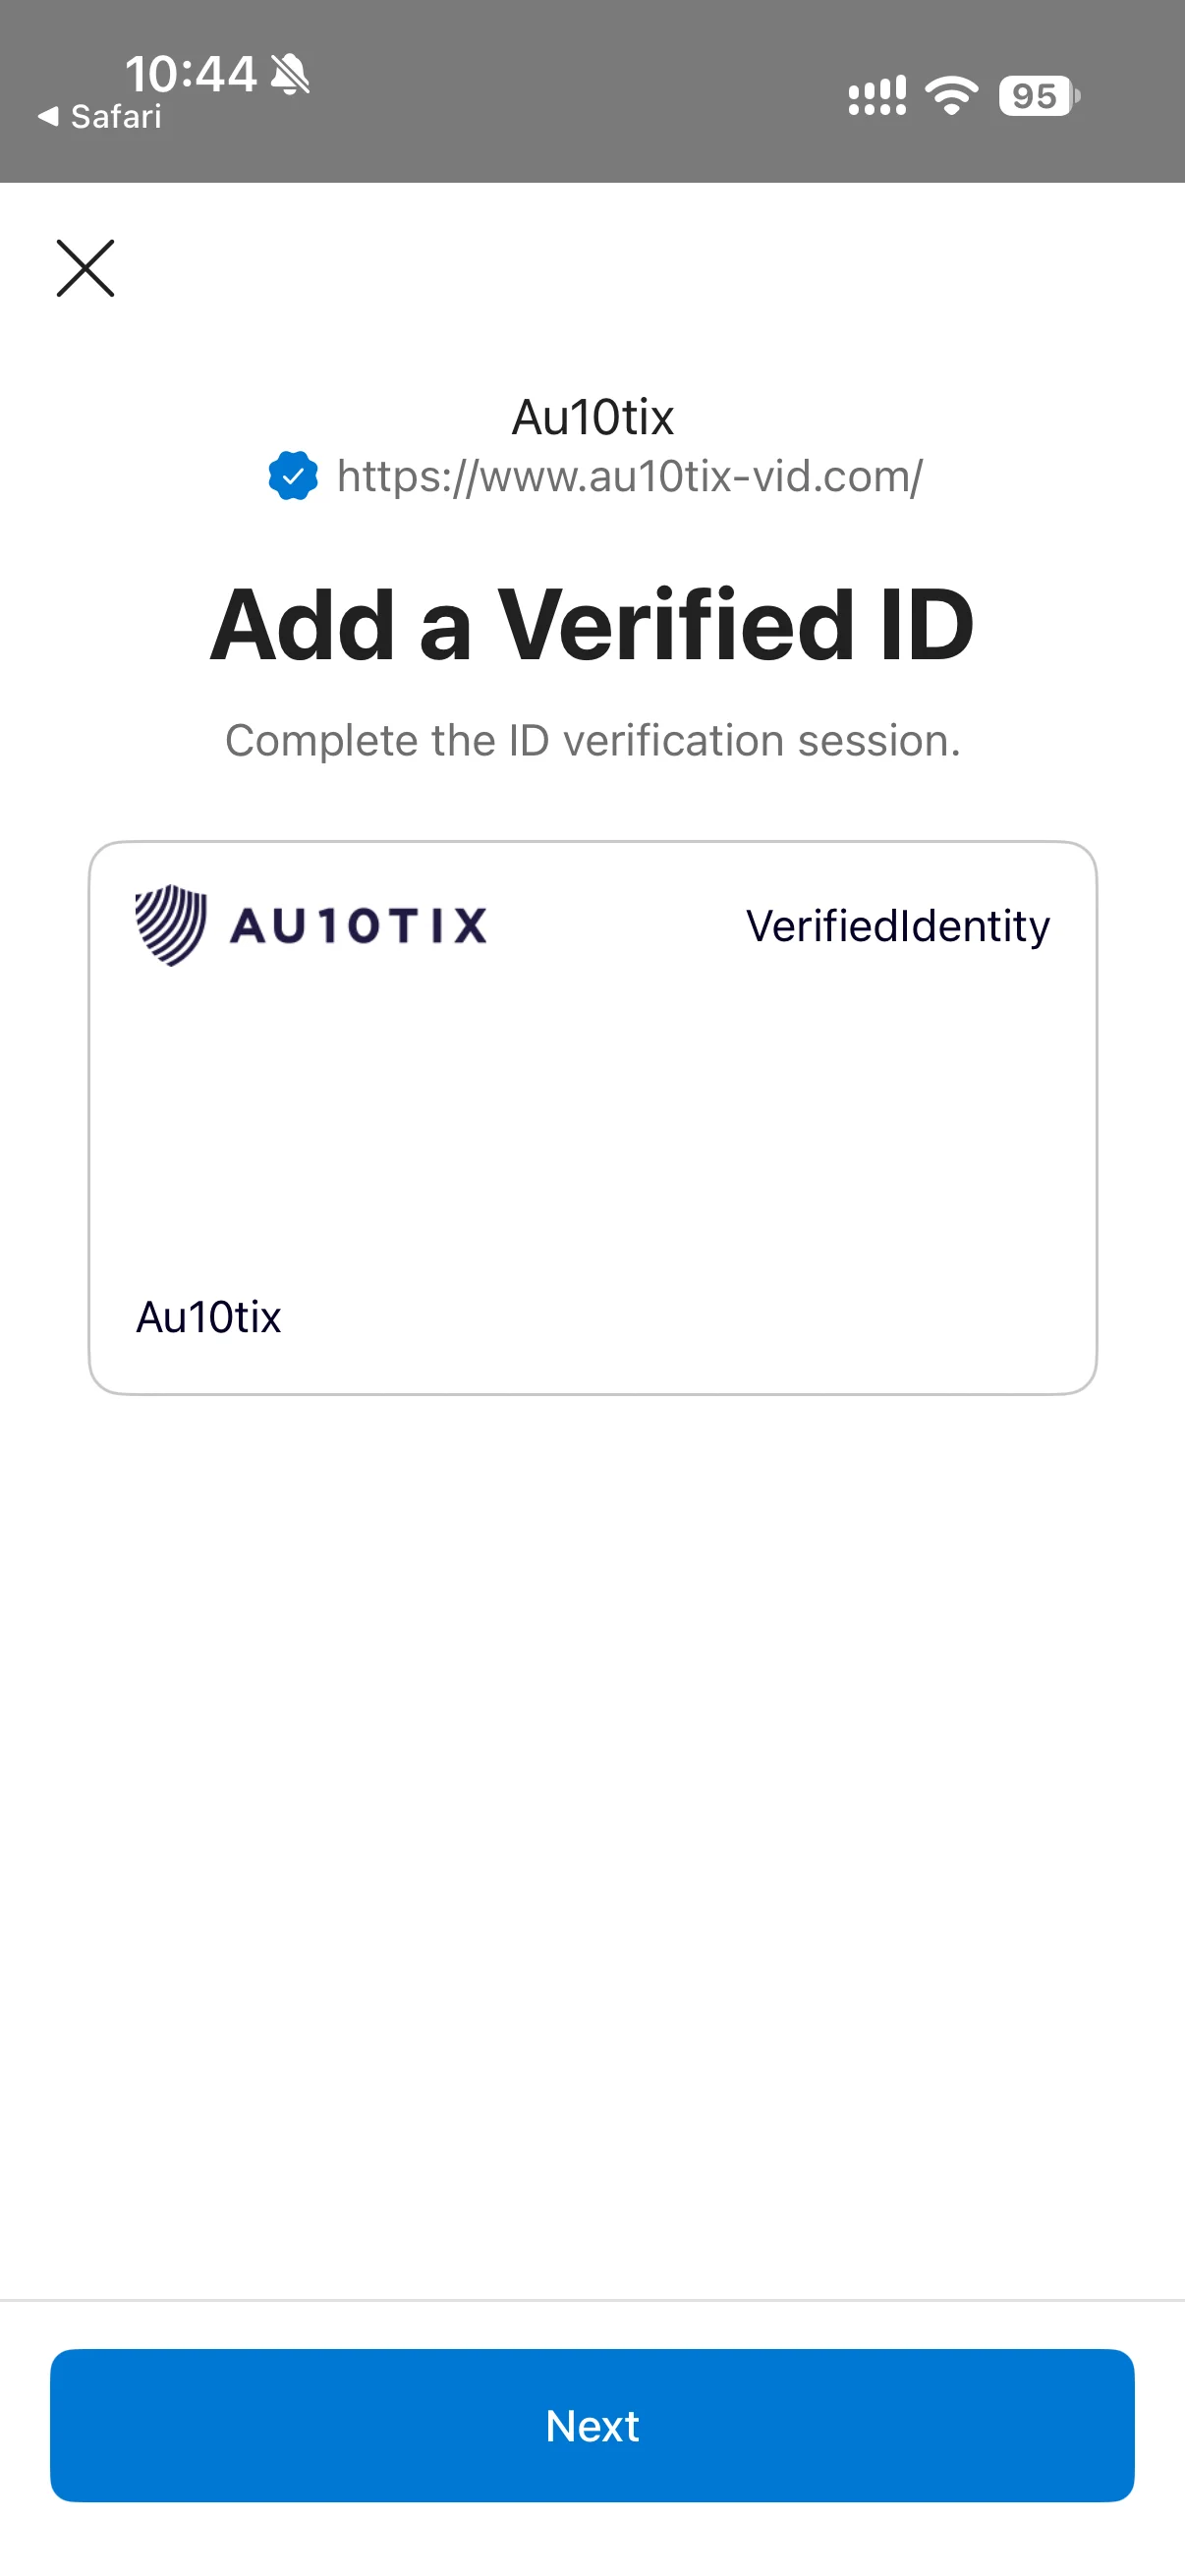
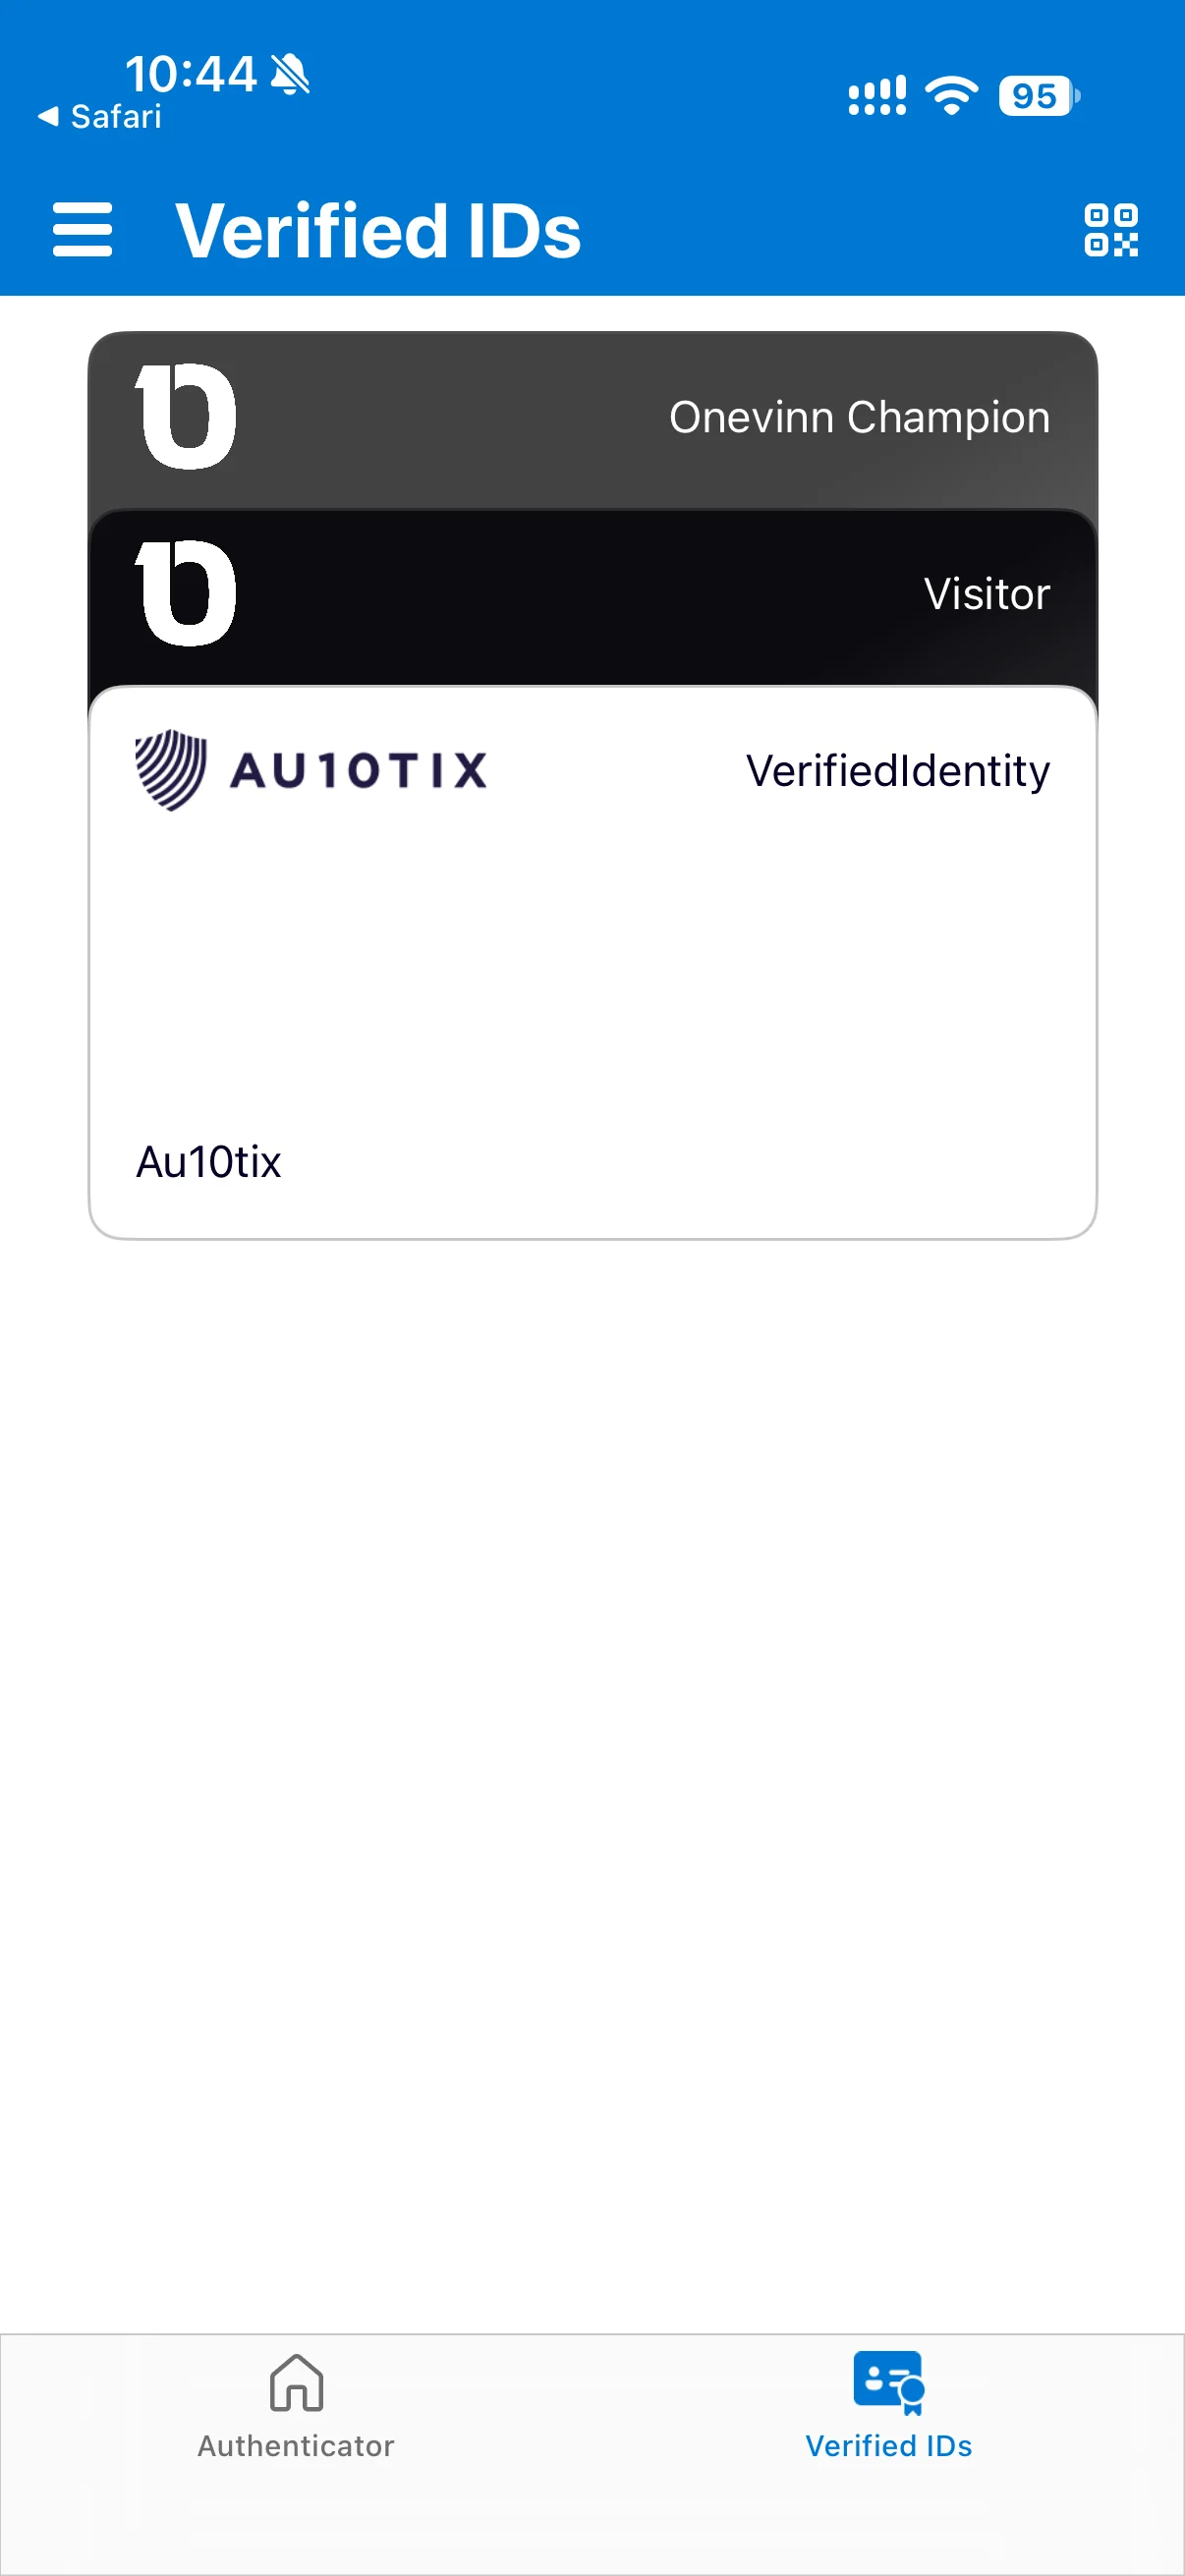
4. Add the Verified ID to Authenticator
If Authenticator isn't installed, the user is sent to the App Store or Google Play first.
Next steps
The user signs in again, selects Continue, and presents the Verified ID with Face Check. See Present a Verified ID When Required.
A Verified ID from a provider proves who the person is, not which account they own, so it can be reused, for example in onboarding or account recovery. Each time it's presented, Entra ID checks it against the account being accessed, using the account validation settings in the identity verification profile: how strictly the names must match, and optionally a custom authentication extension that checks more claims against your own records. If the check fails, the user is denied.
References
- Microsoft Learn: Identity verification partners
- Microsoft Learn: Face Check with Microsoft Entra Verified ID
- Microsoft Learn: Account recovery FAQ
In this series
- How to Require Identity Verification on a SharePoint Site: overview
- How to Apply an Authentication Context to a SharePoint Site
- How to Create an Identity Verification Profile
- How to Create a Conditional Access Policy for Identity Verification
- Get a Verified ID from an Identity Verification Provider (this post)
- Present a Verified ID When Required