Present a Verified ID When Required
 Samuel Eng
When a user has to verify their identity, they present a Verified ID from Microsoft Authenticator and complete Face Check. It takes about a minute and needs no identity document, as long as the Verified ID is still valid.
NOTE
Getting a Verified ID and presenting it are two different checks, done by two different parties.
- Getting it (once per Verified ID): the identity verification provider, such as AU10TIX, checks the user's identity document and compares their face with the photo on it. This proves who the user is.
- Presenting it (each time verification is required): Microsoft Face Check compares the user's face with the photo in the Verified ID. This proves the Verified ID belongs to the person holding the phone.
It works like a passport: identity is checked thoroughly once, when it's issued. At the border, the officer only checks that the traveler's face matches the photo. For more, see identity proofing vs. holder verification.
Several flows can ask for it:
- Conditional Access: a policy requires identity verification to open a resource.
- Account recovery: the user has lost their sign-in methods and proves who they are before registering new ones. See account recovery.
- Onboarding: on their first day, a new employee proves they're the person who was verified before they started, and then registers a passkey.
Prerequisites
- A Verified ID from the identity verification provider, stored in Microsoft Authenticator on the user's phone. No Verified ID yet? See Get a Verified ID from an Identity Verification Provider.
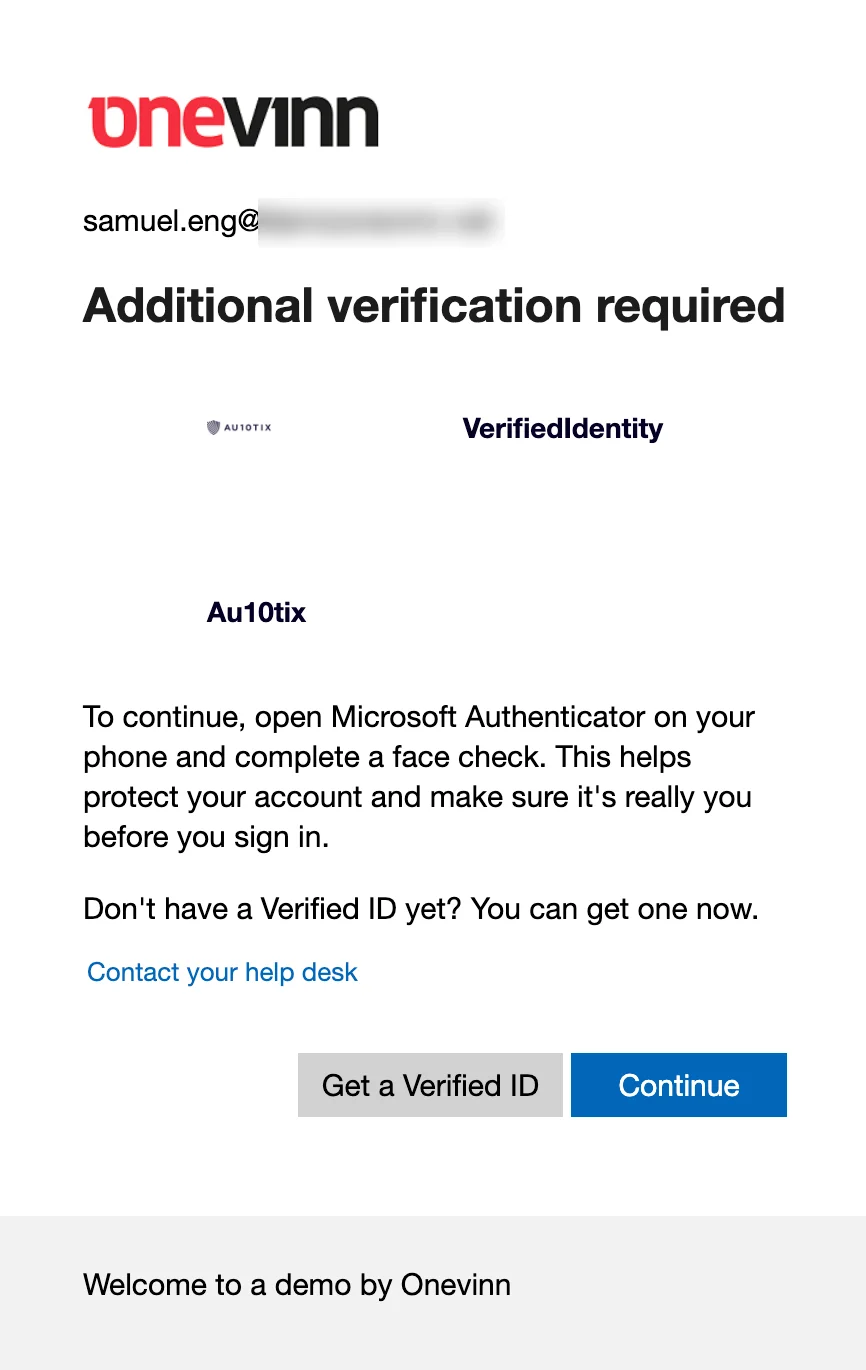
1. Start the verification
After sign-in, the prompt shows which Verified ID to present. The user selects Continue.
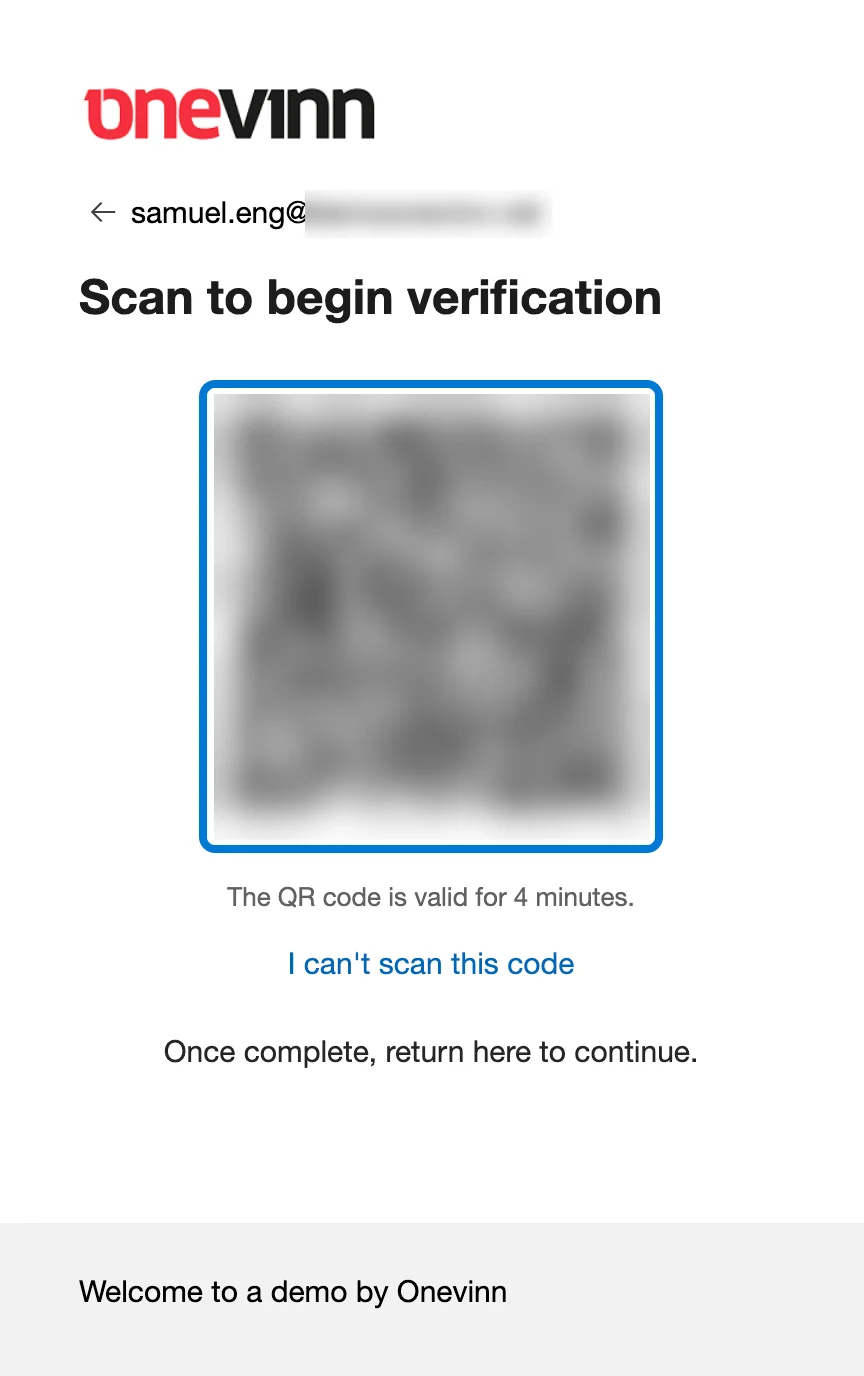
2. Scan the QR code
The user scans the QR code with the phone's camera, which opens Authenticator. The code is valid for 4 minutes.
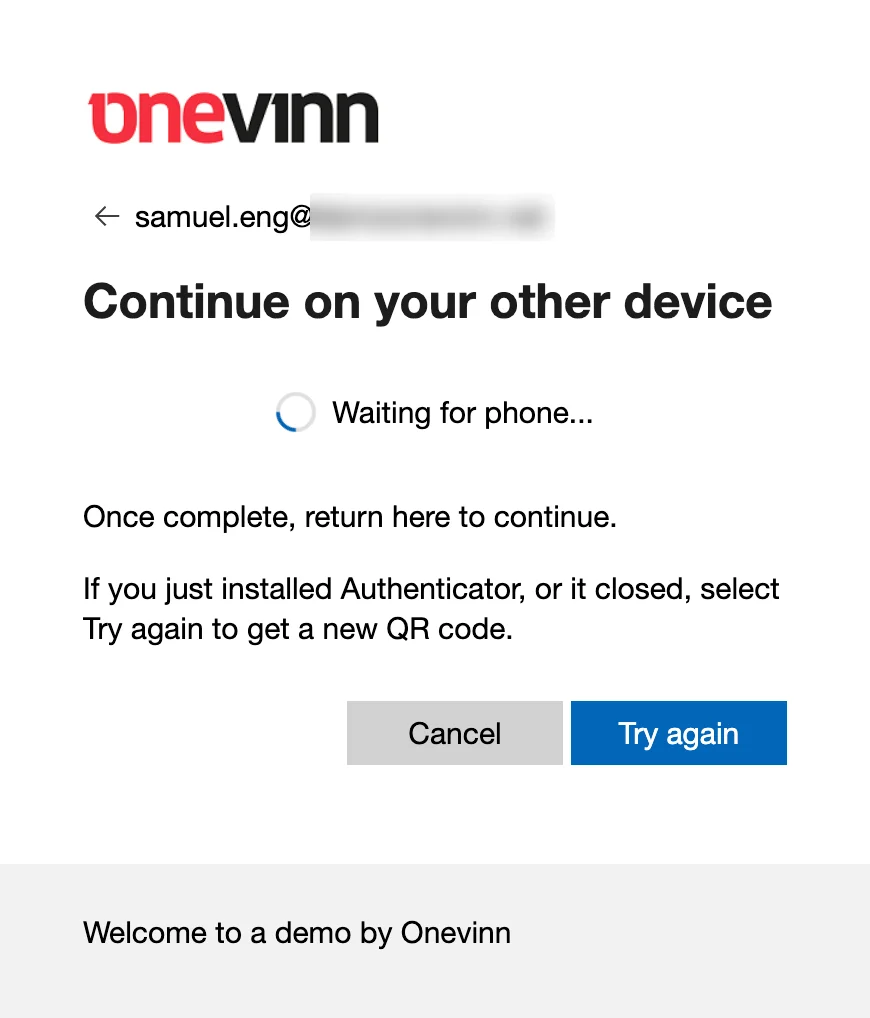
The browser then waits for the phone. If Authenticator closed or was only just installed, Try again shows a new QR code.
3. Share the Verified ID and complete Face Check
Authenticator lists what's shared with the organization: the Verified ID and the result of Face Check. The user selects Next, holds still for Face Check, and then selects Share.
NOTE
The user is always in control. Authenticator shows exactly what will be shared, and nothing is shared until they select Share. They can cancel at any time.



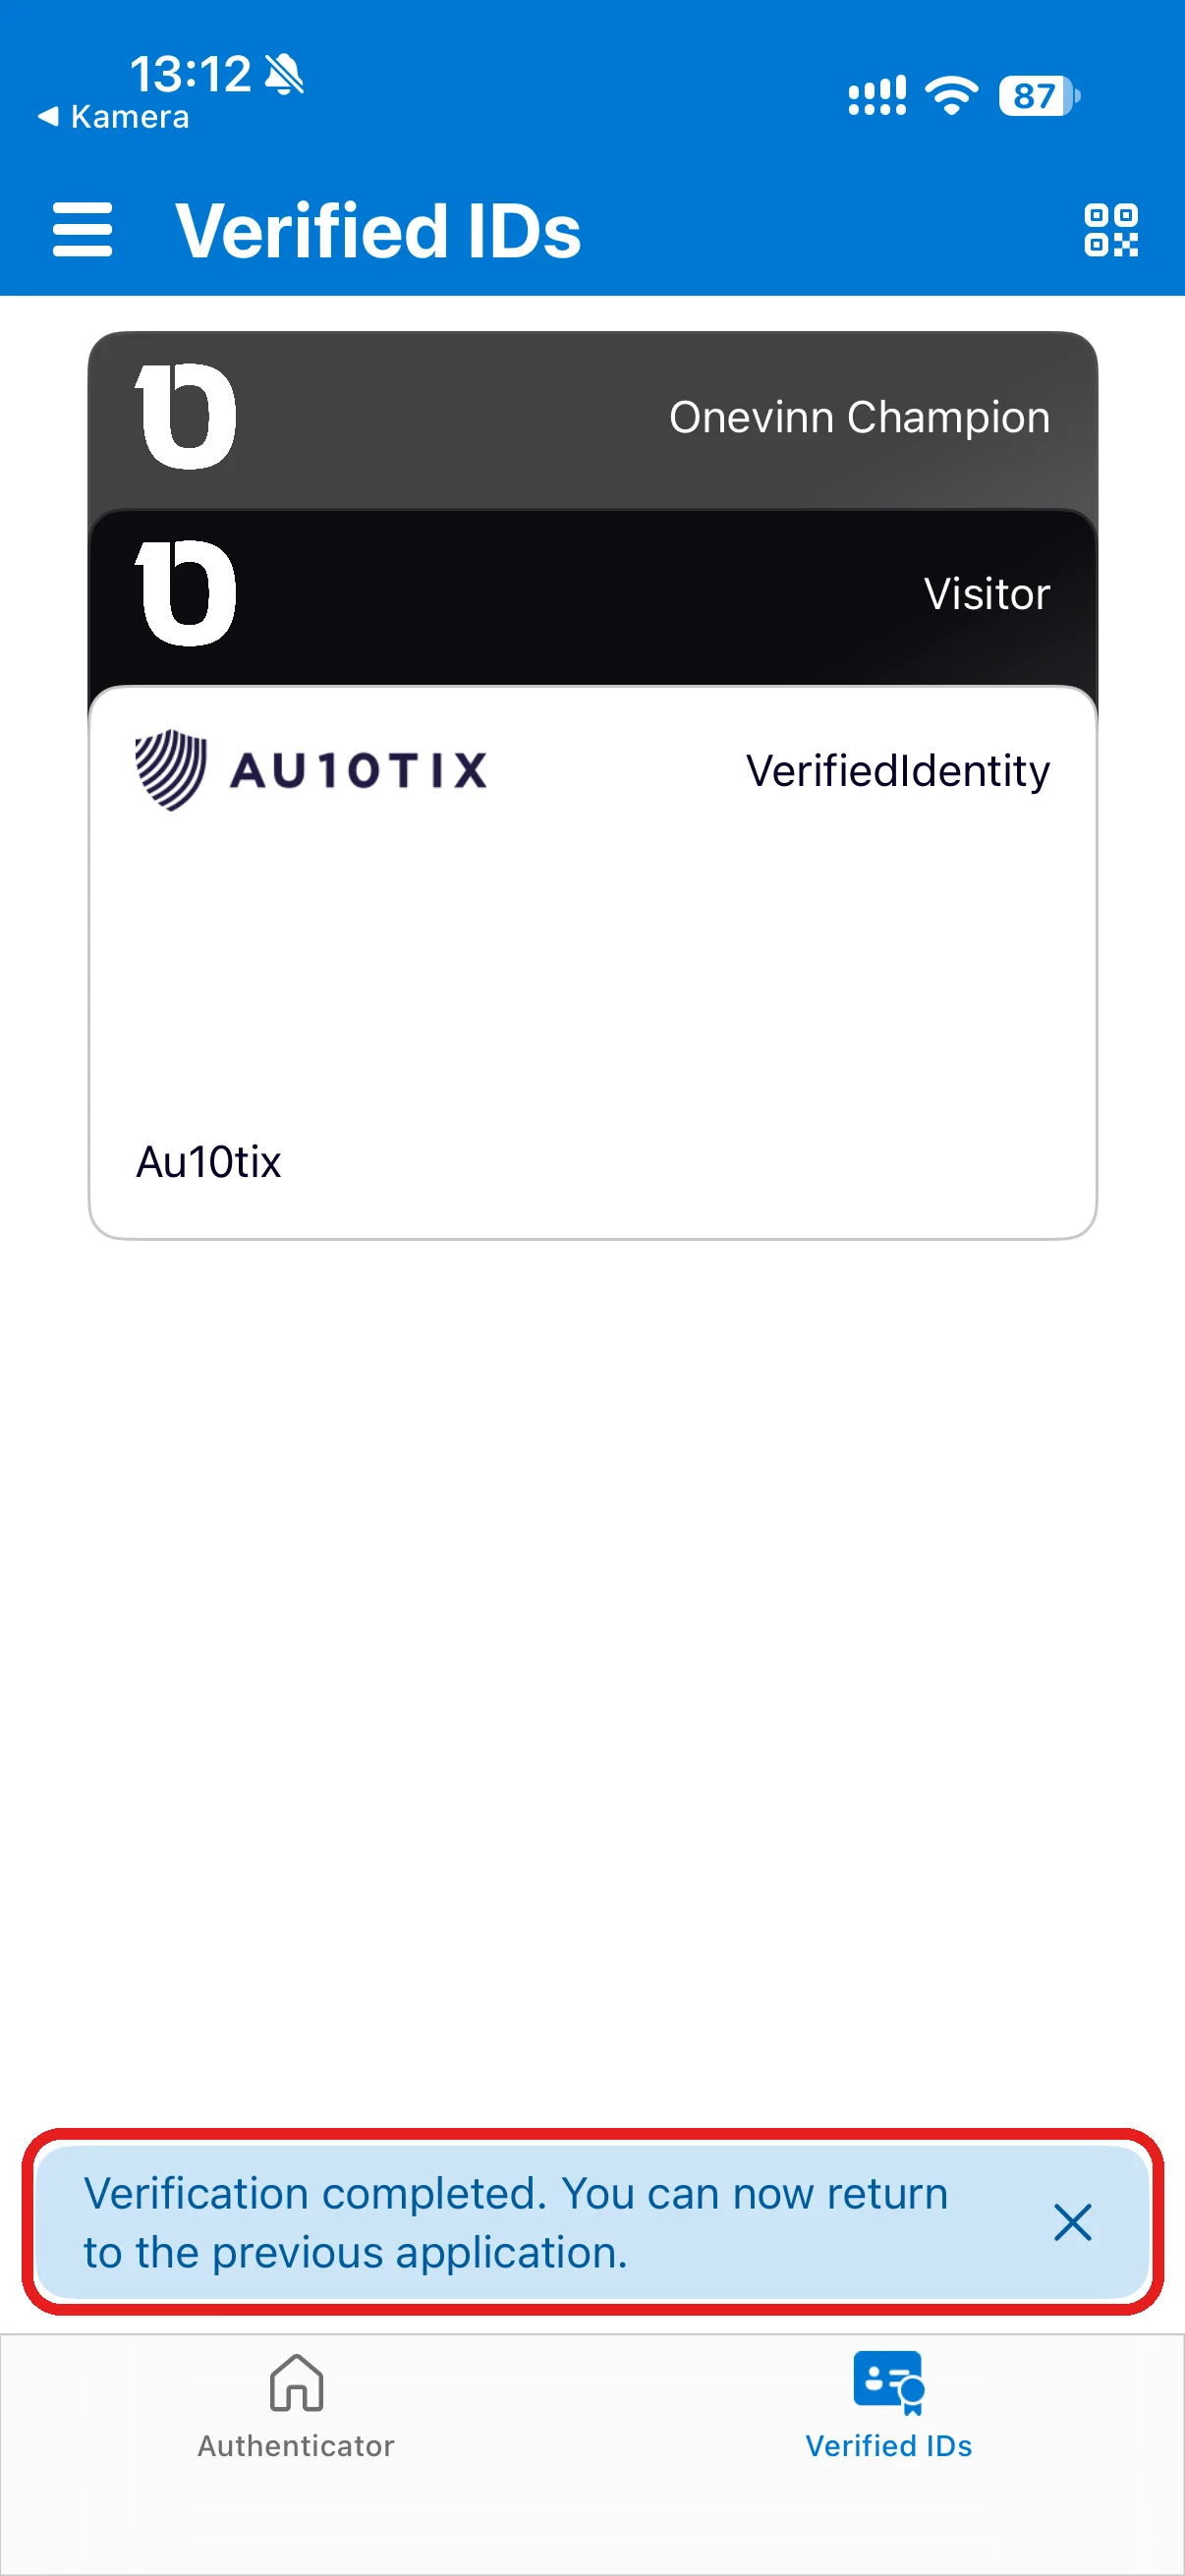
4. Return to the browser
Authenticator confirms the verification, and the browser continues to the site.
How it's checked
- Face Check compares the user's live face with the photo in the Verified ID. The confidence threshold can't be changed in this flow.
- Account validation checks the Verified ID against the account: name matching and, optionally, a custom authentication extension, as set in the identity verification profile. If it fails, the user is denied.
TIP
If Face Check fails, admins can review the confidence score it reached in the event log. Bright light is a common cause. Ask the user to try again away from windows and bright lamps.
References
In this series
- How to Require Identity Verification on a SharePoint Site: overview
- How to Apply an Authentication Context to a SharePoint Site
- How to Create an Identity Verification Profile
- How to Create a Conditional Access Policy for Identity Verification
- Get a Verified ID from an Identity Verification Provider
- Present a Verified ID When Required (this post)